h
e
I
n
s
a
n
e
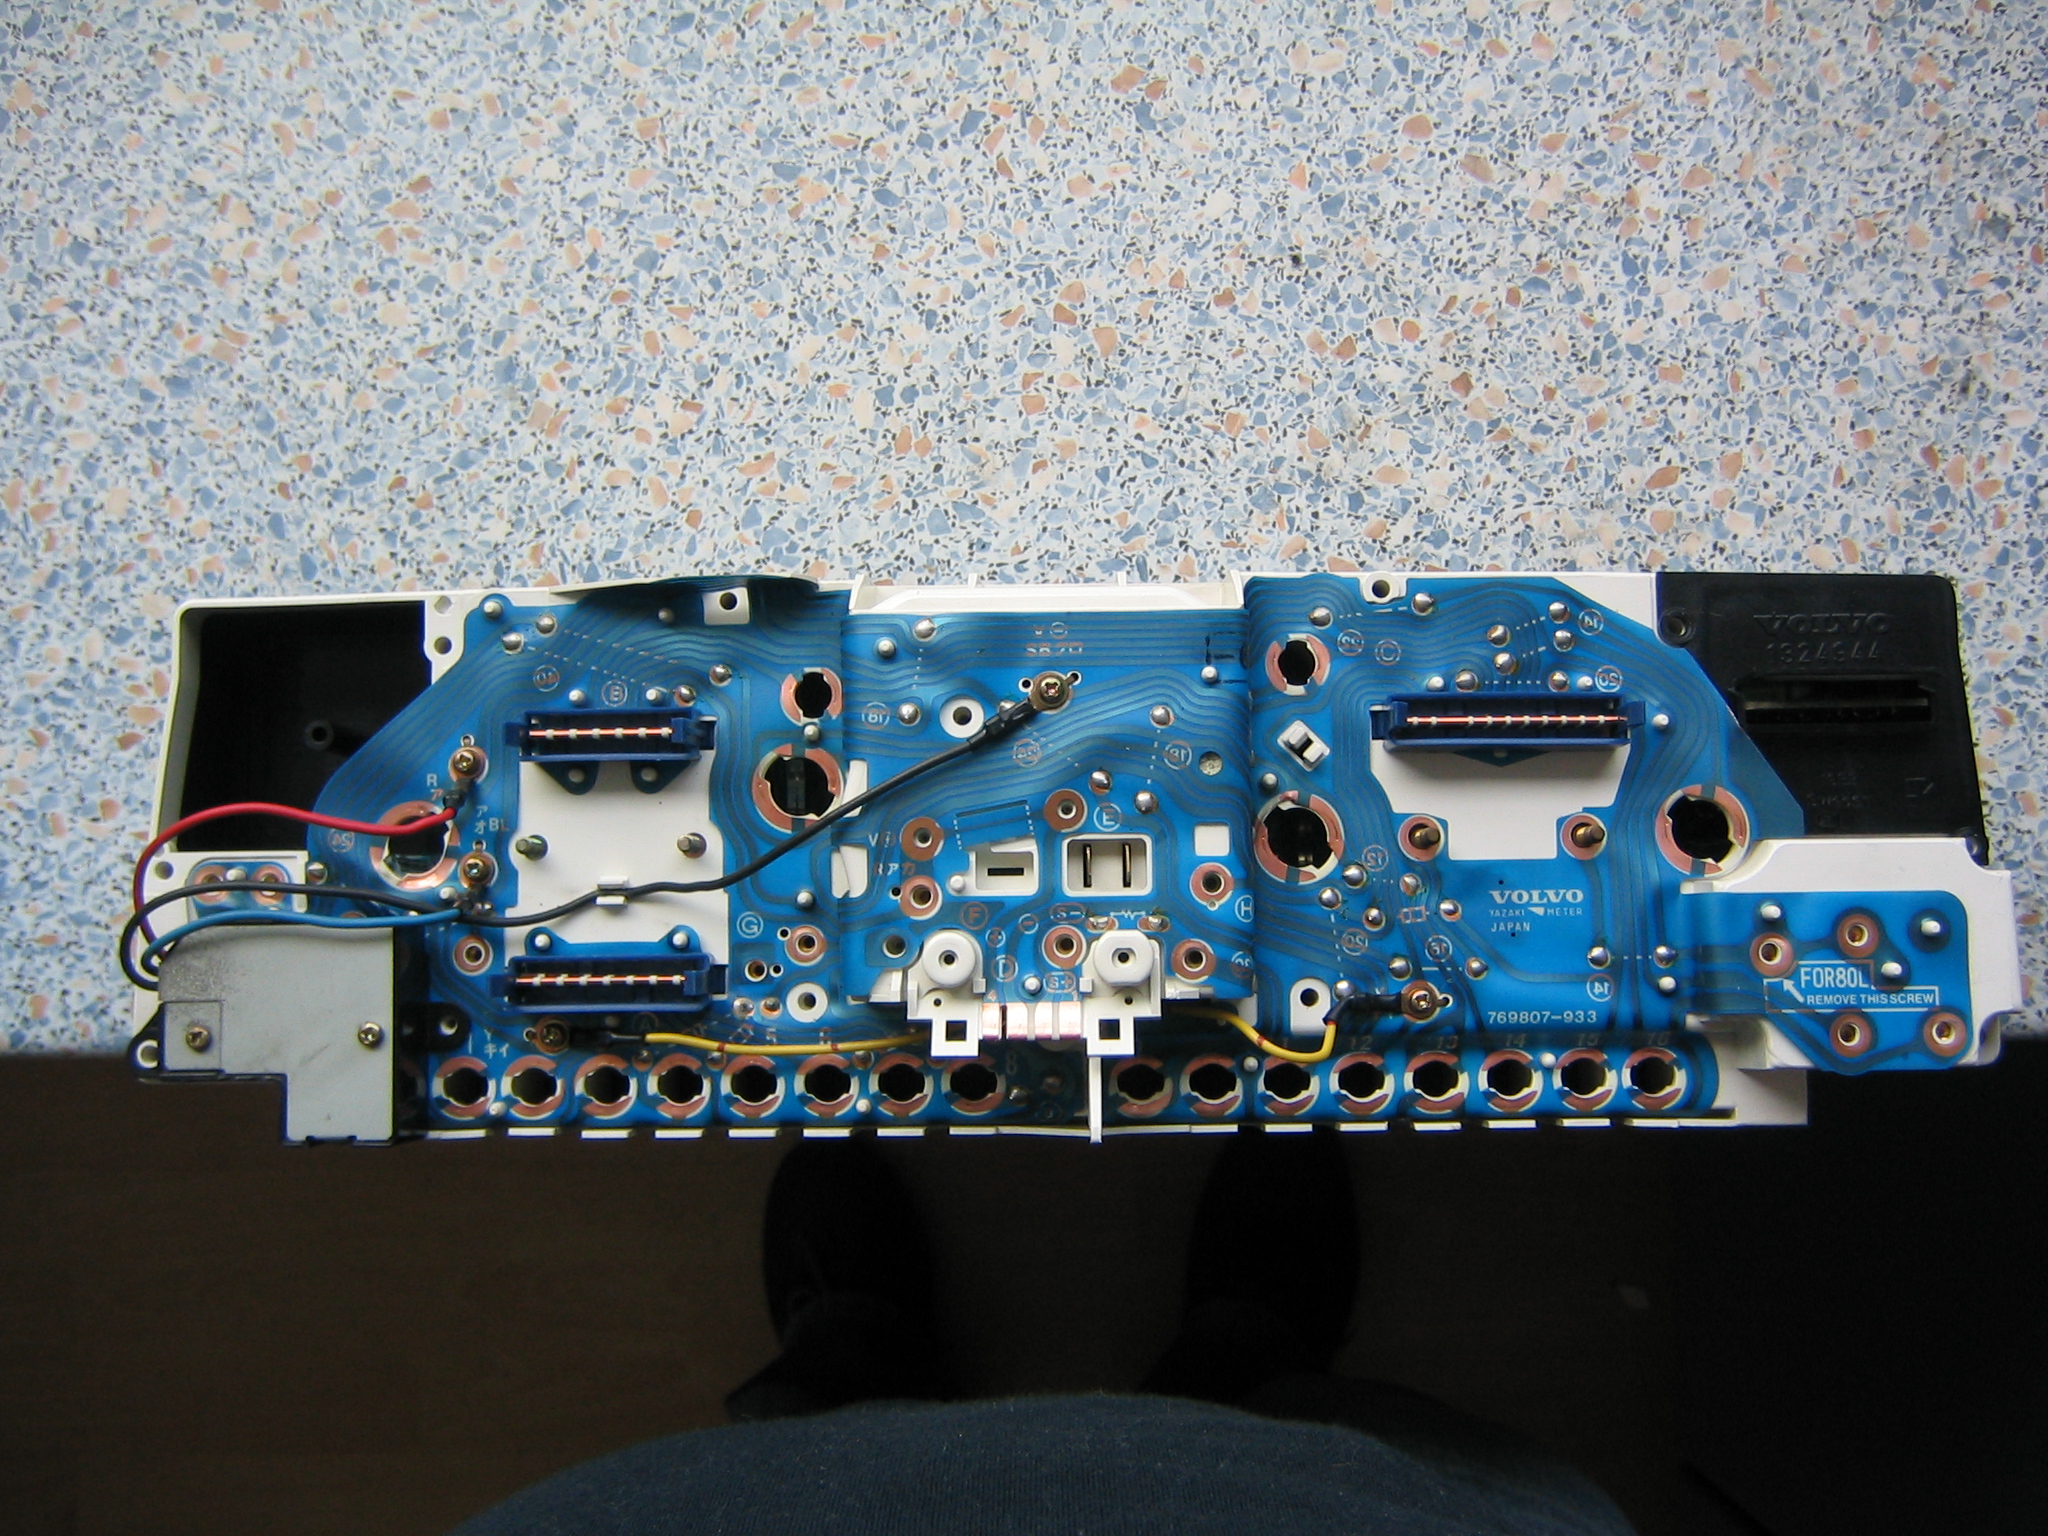
The volvo 740 TD GLE I bought was used by a heavy smoker, I decided to clean the cockpit. Within most manual you'll find the phrase 'assembly is reverse of removal', but as the cockpit was so dirty, I just made pictures of the disassembly of the speedometer. The rest of the page is 'disassembly is the reverse of assembly'.
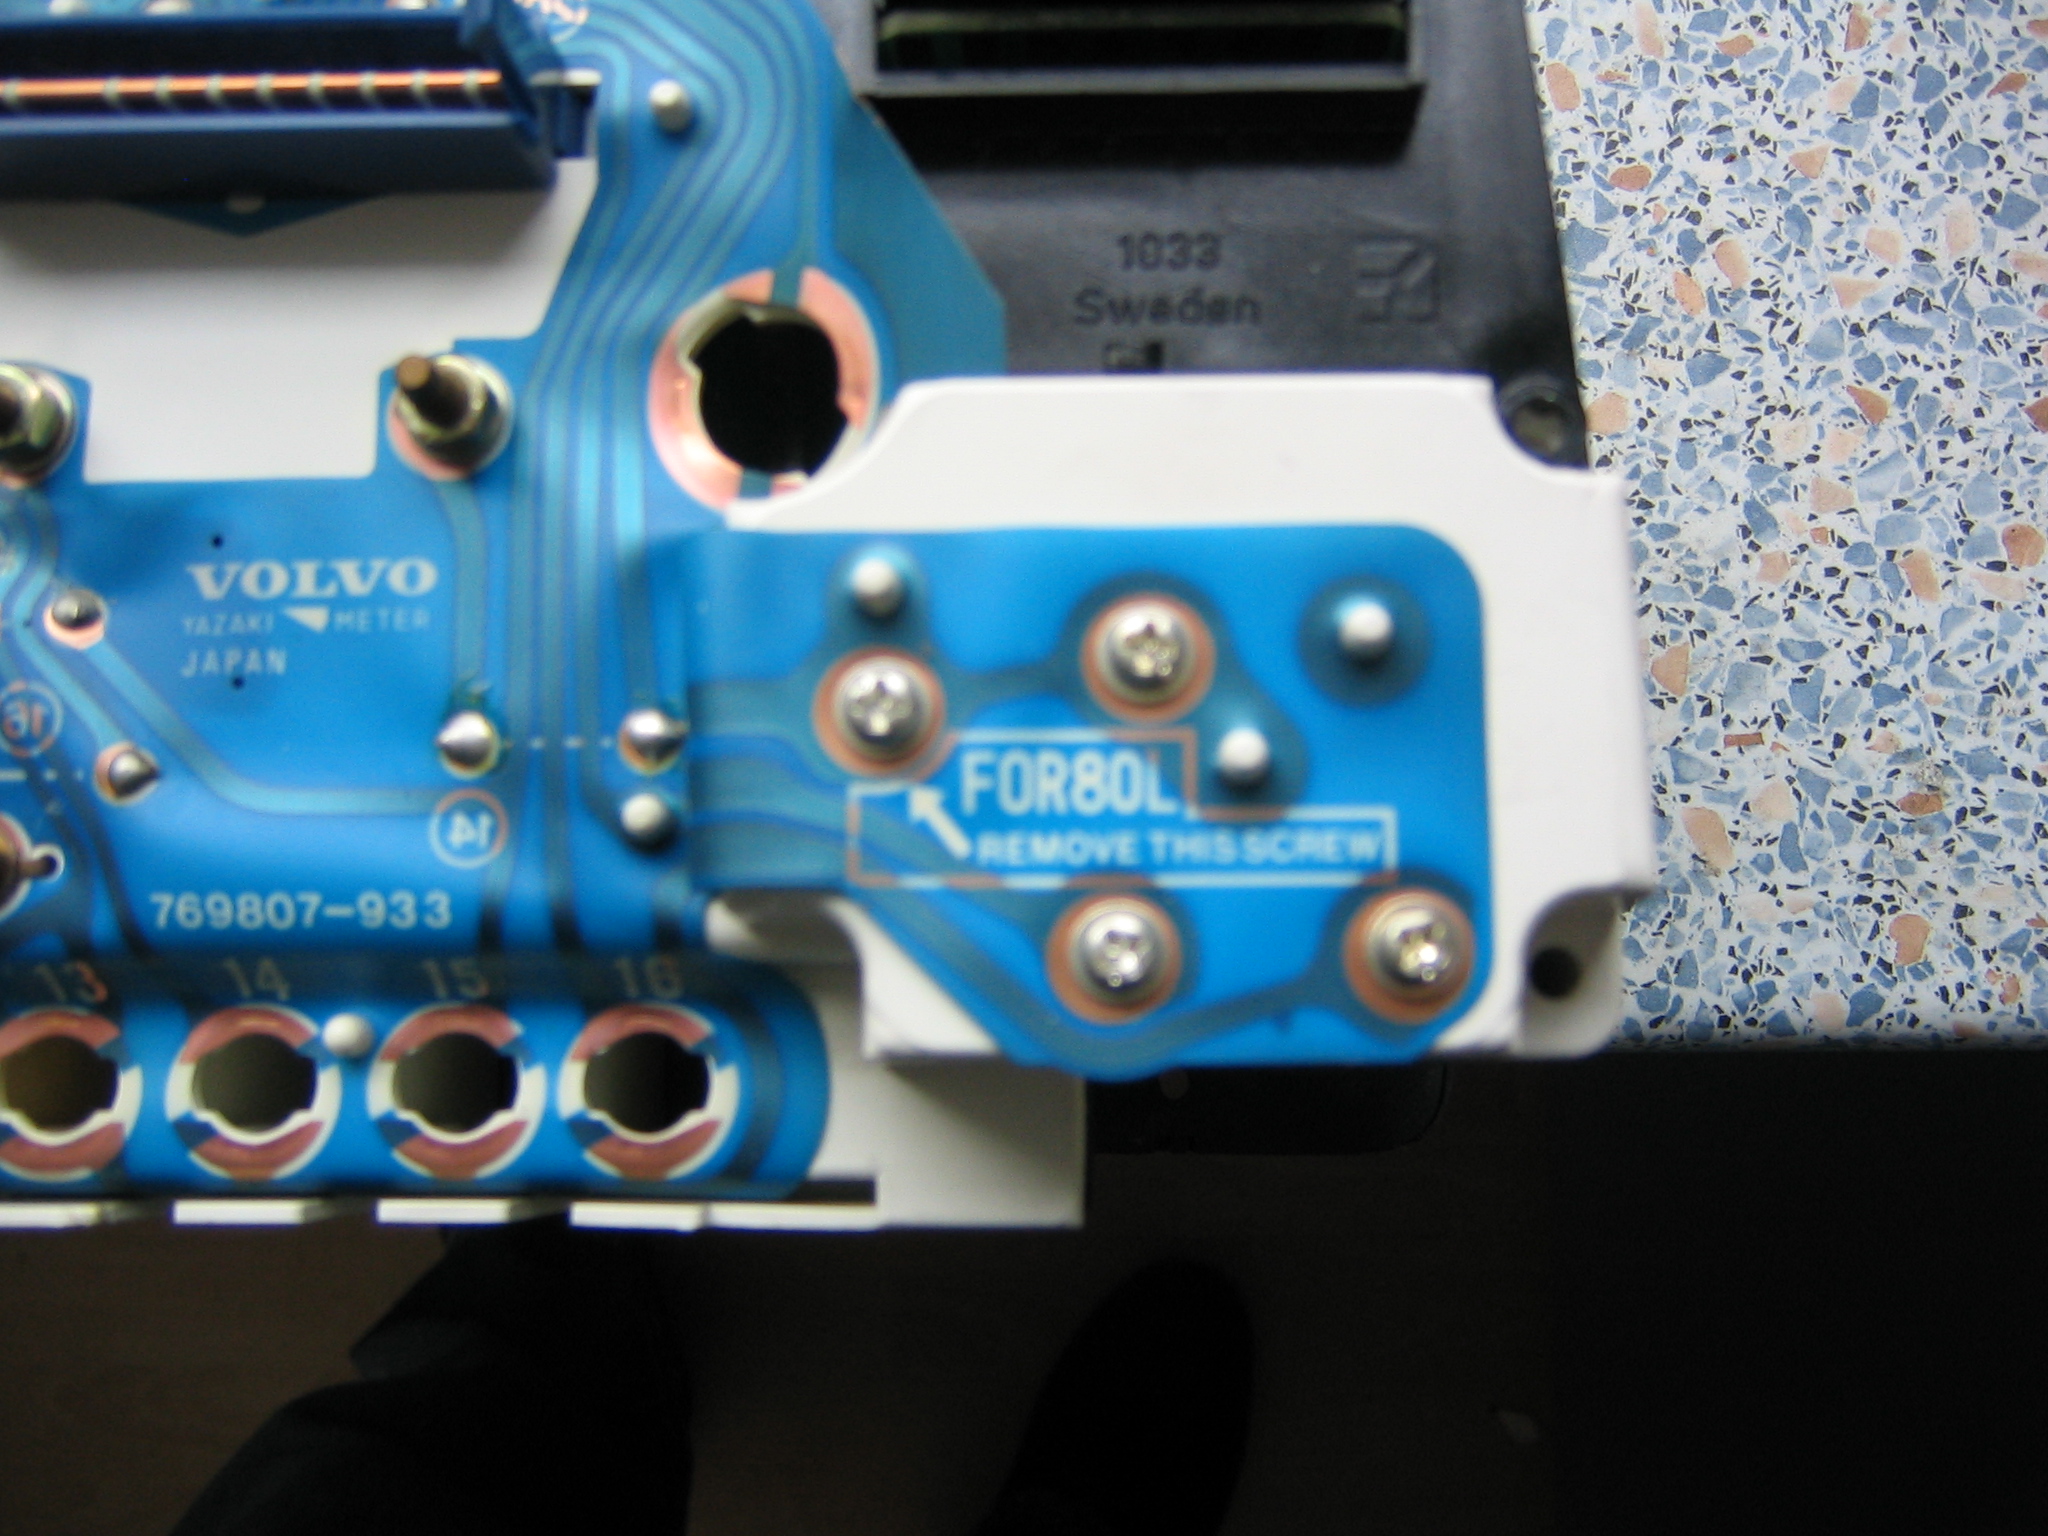
After disassembly of all gauges I started with the disassembly of the speedometer. First remove the needle, followed by the faceplate. The perspex plate is fitted with 2 screws. Remove these, but be carefull, they are very rare. (so don't loose them). The top part can be removed by removing 3 more screws, 1 on the left and 2 on the right. Don't mix them, as they are of different lengths.
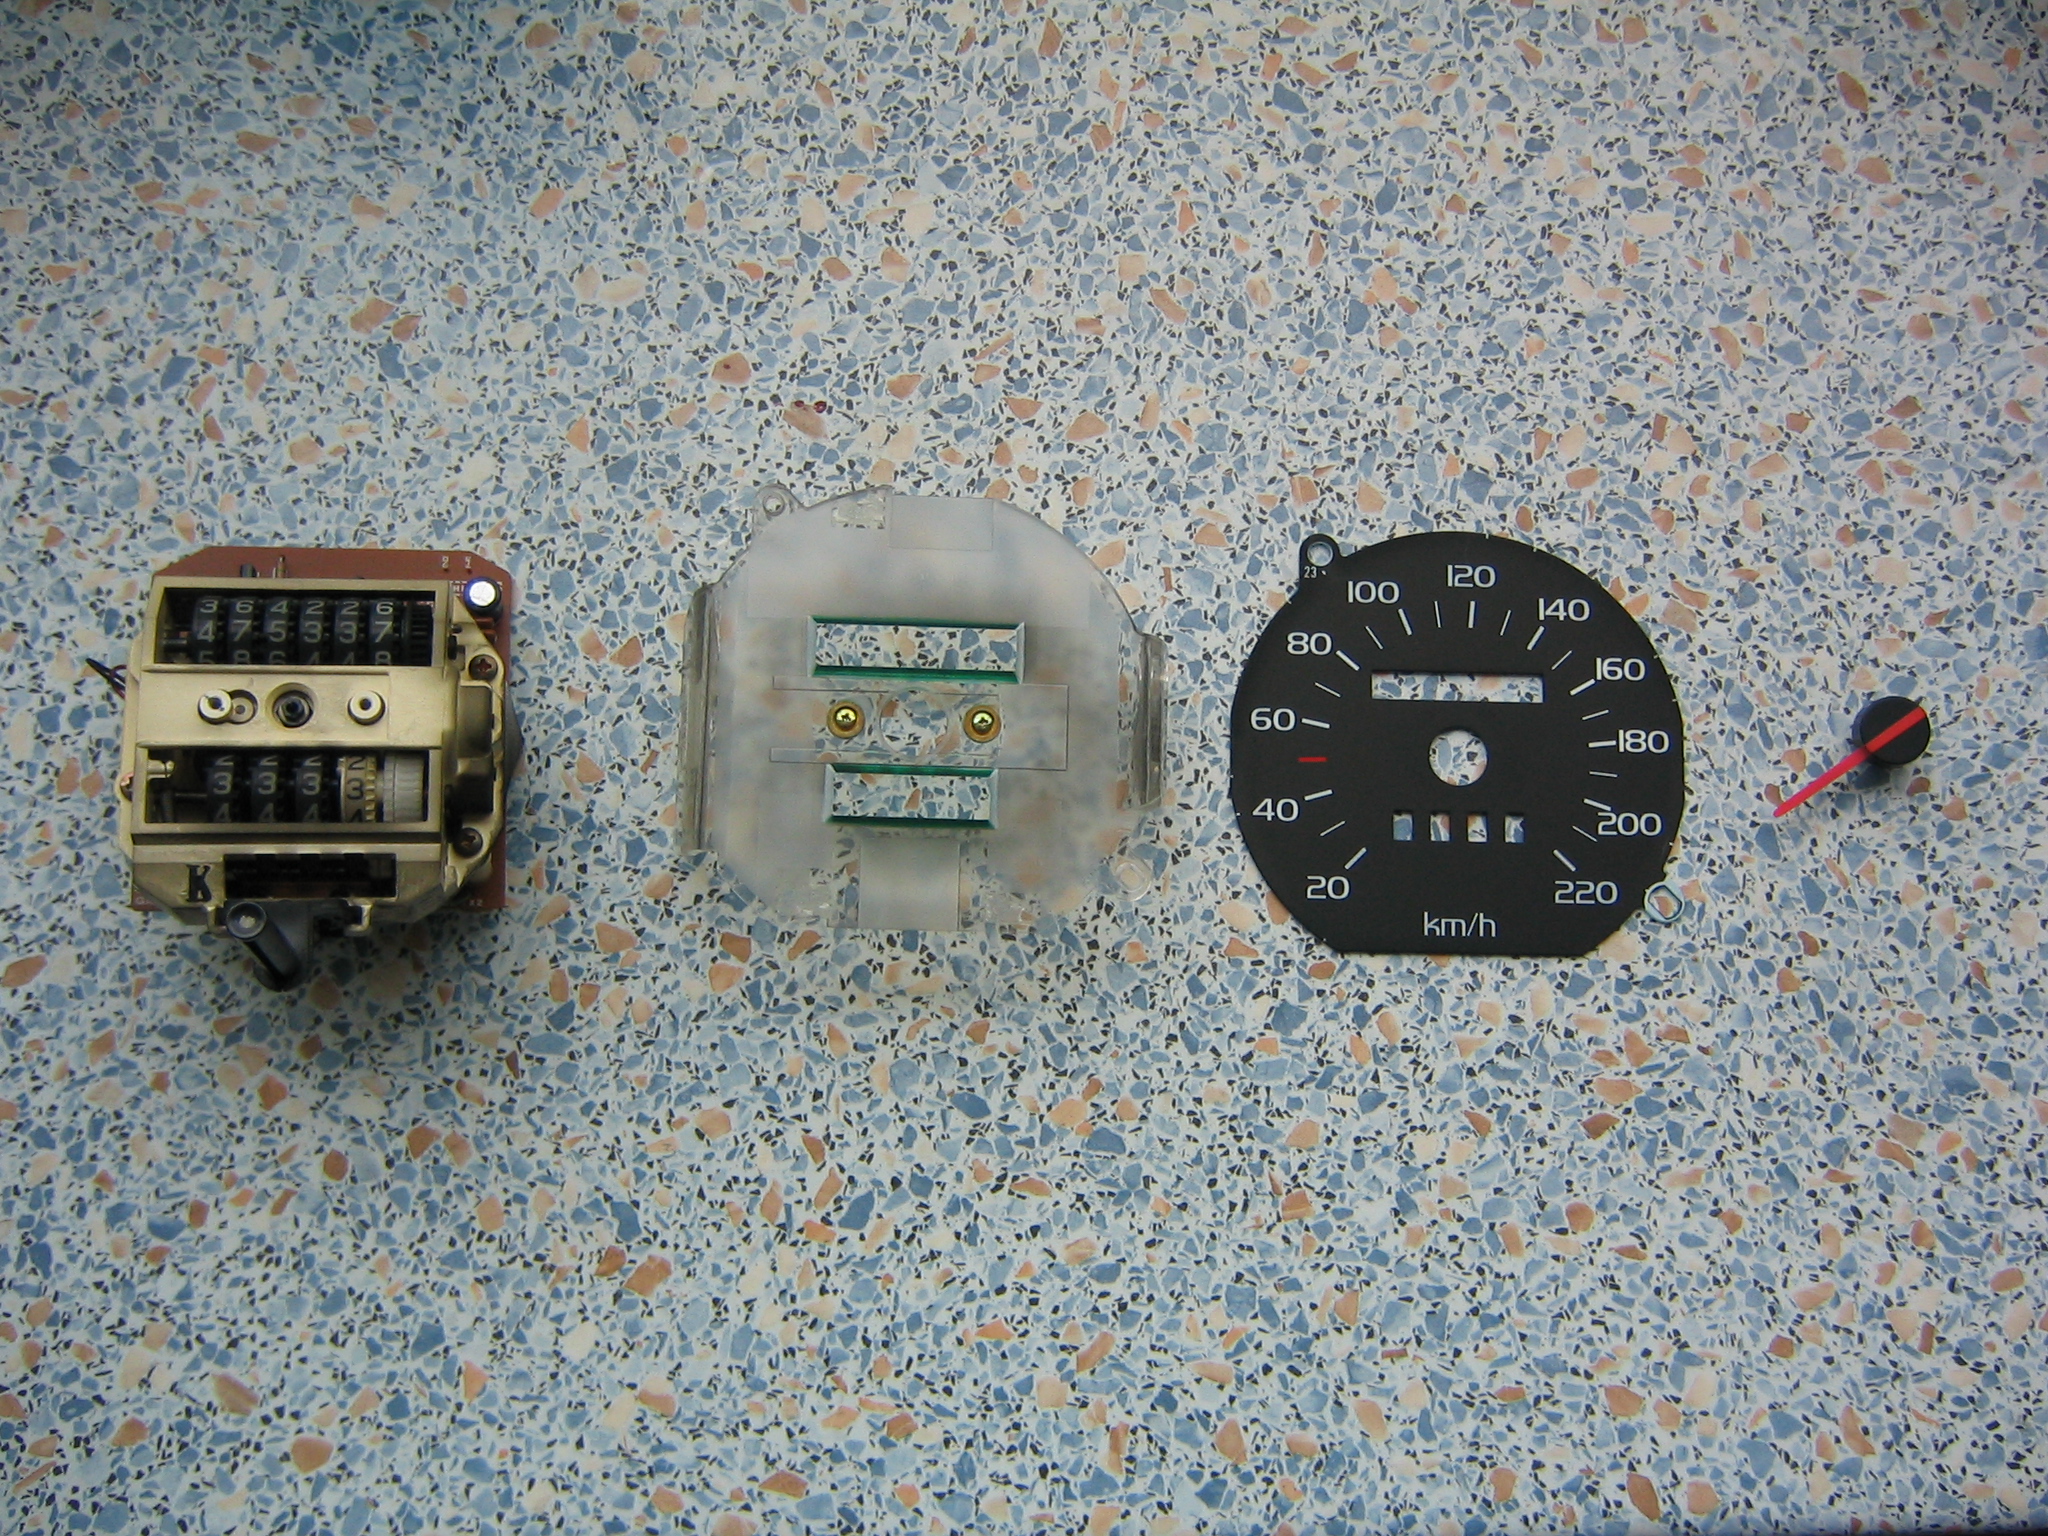
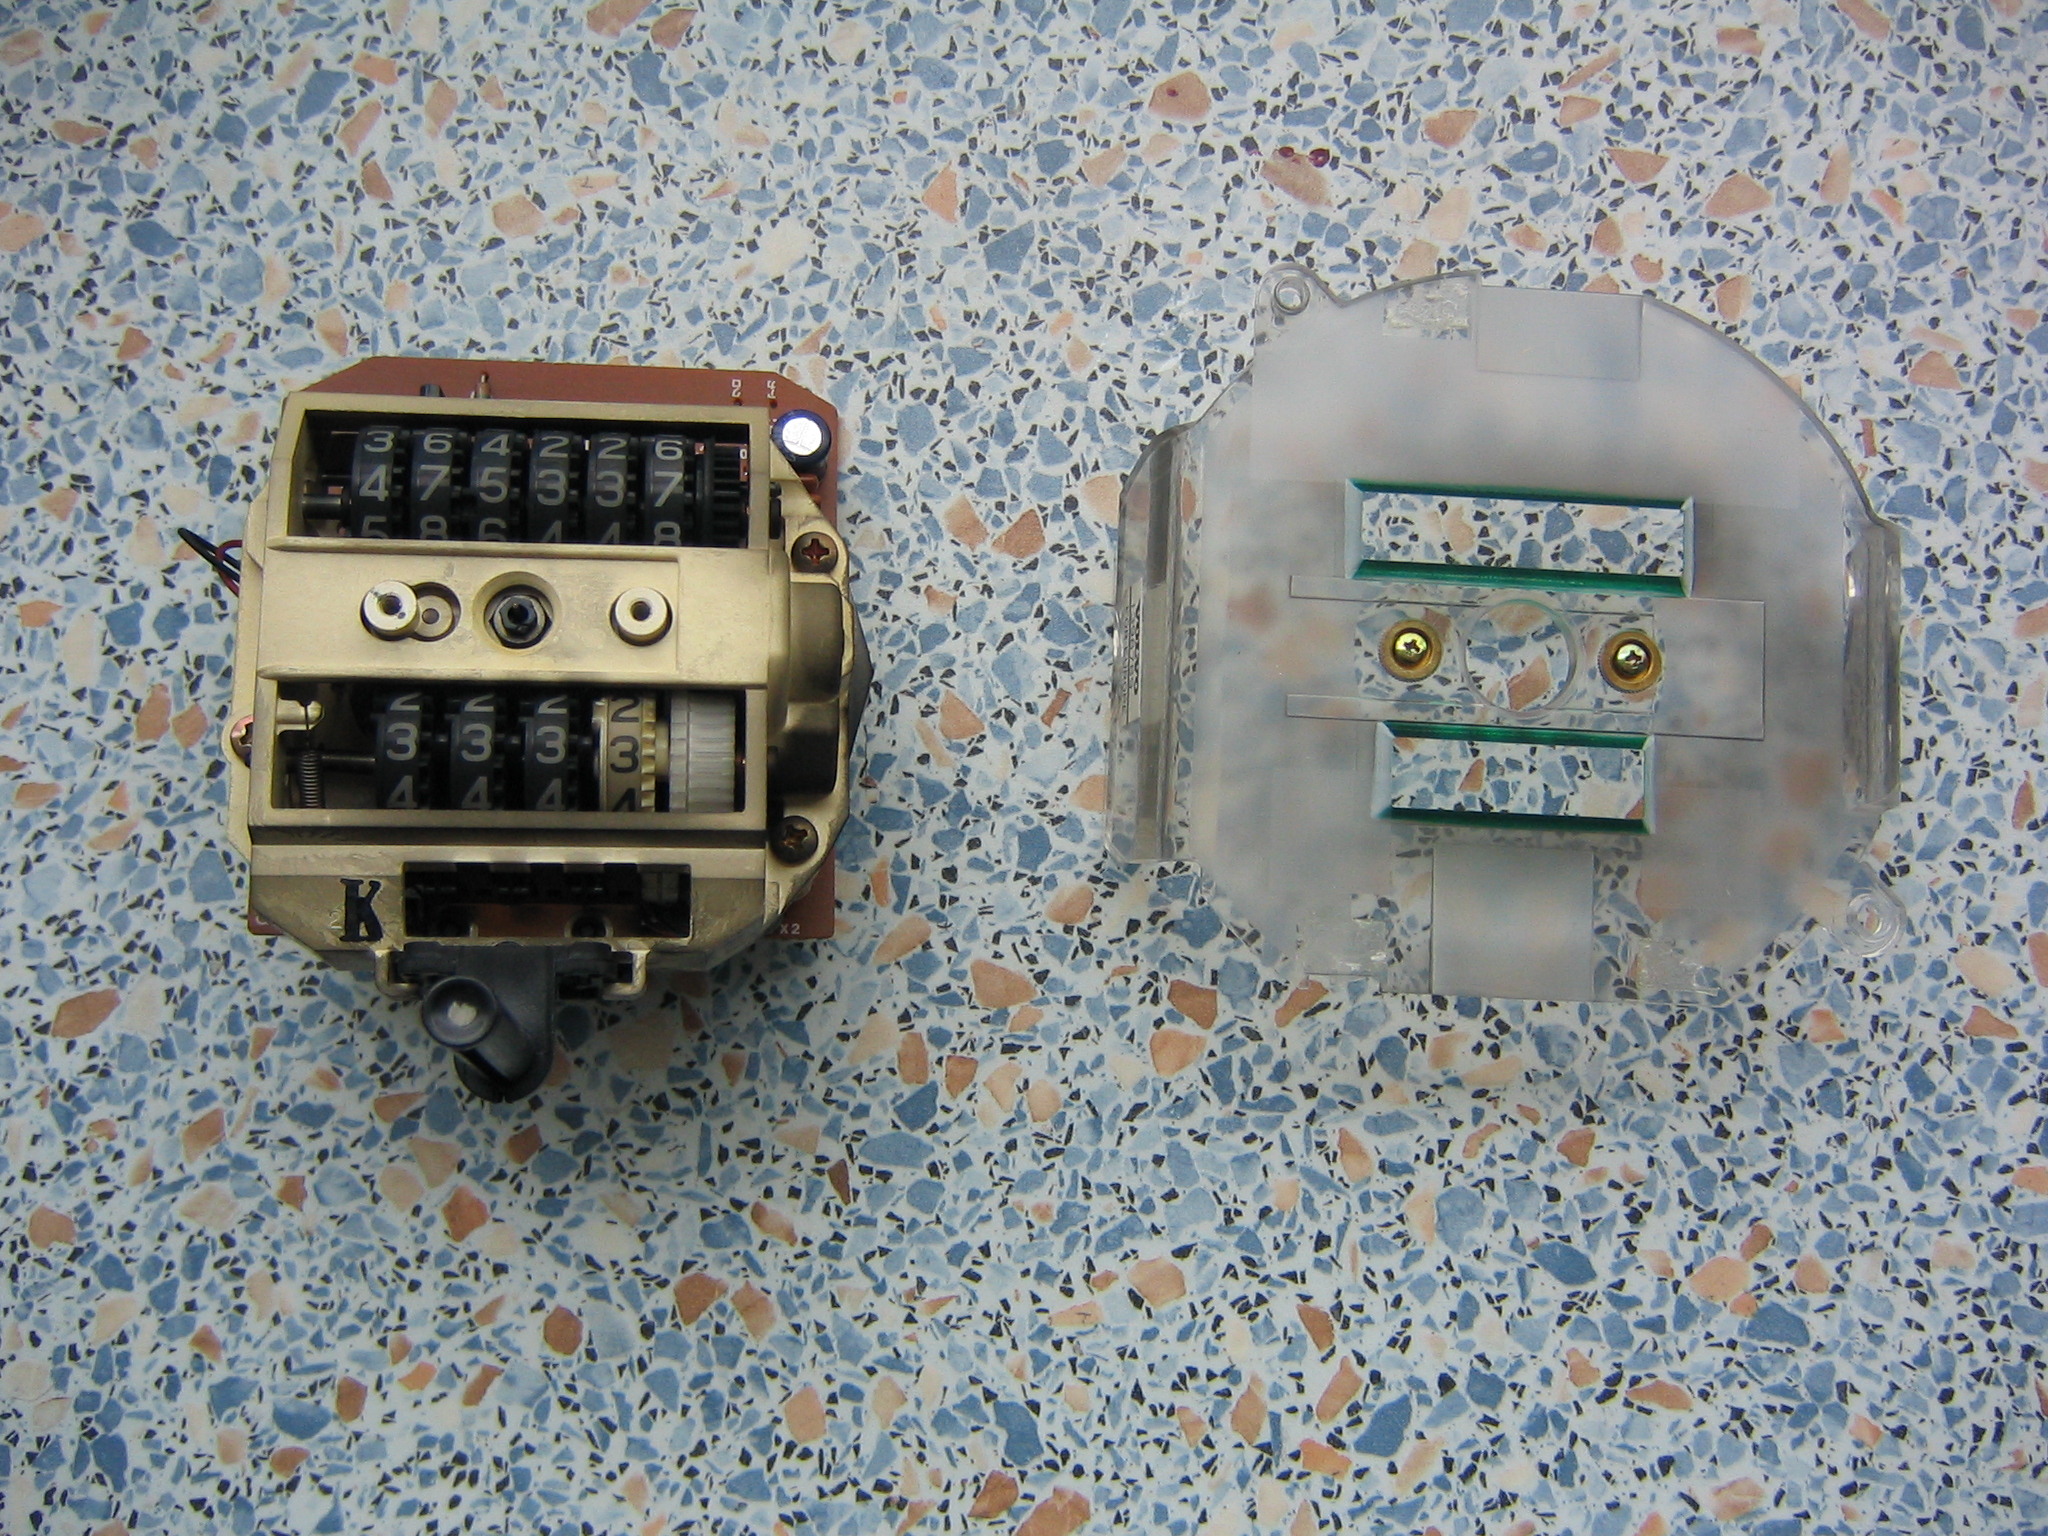

After disassembly the speedometer can be cleaned. The best way to do this is to use window cleaner and a toothbrush. After cleaning rebuild the speedometer. If the speedometer is 10 km/h off, please adjust the needle accordingly while refitting. In this case the lower side of the needle was aligned with the lower left corner of the first digit of the trip counter.


Now clean the remaining gauges and the clock. These are a bit more complicated, but they usually are less dirty. Just cleaning the faceplate should prove sufficient.
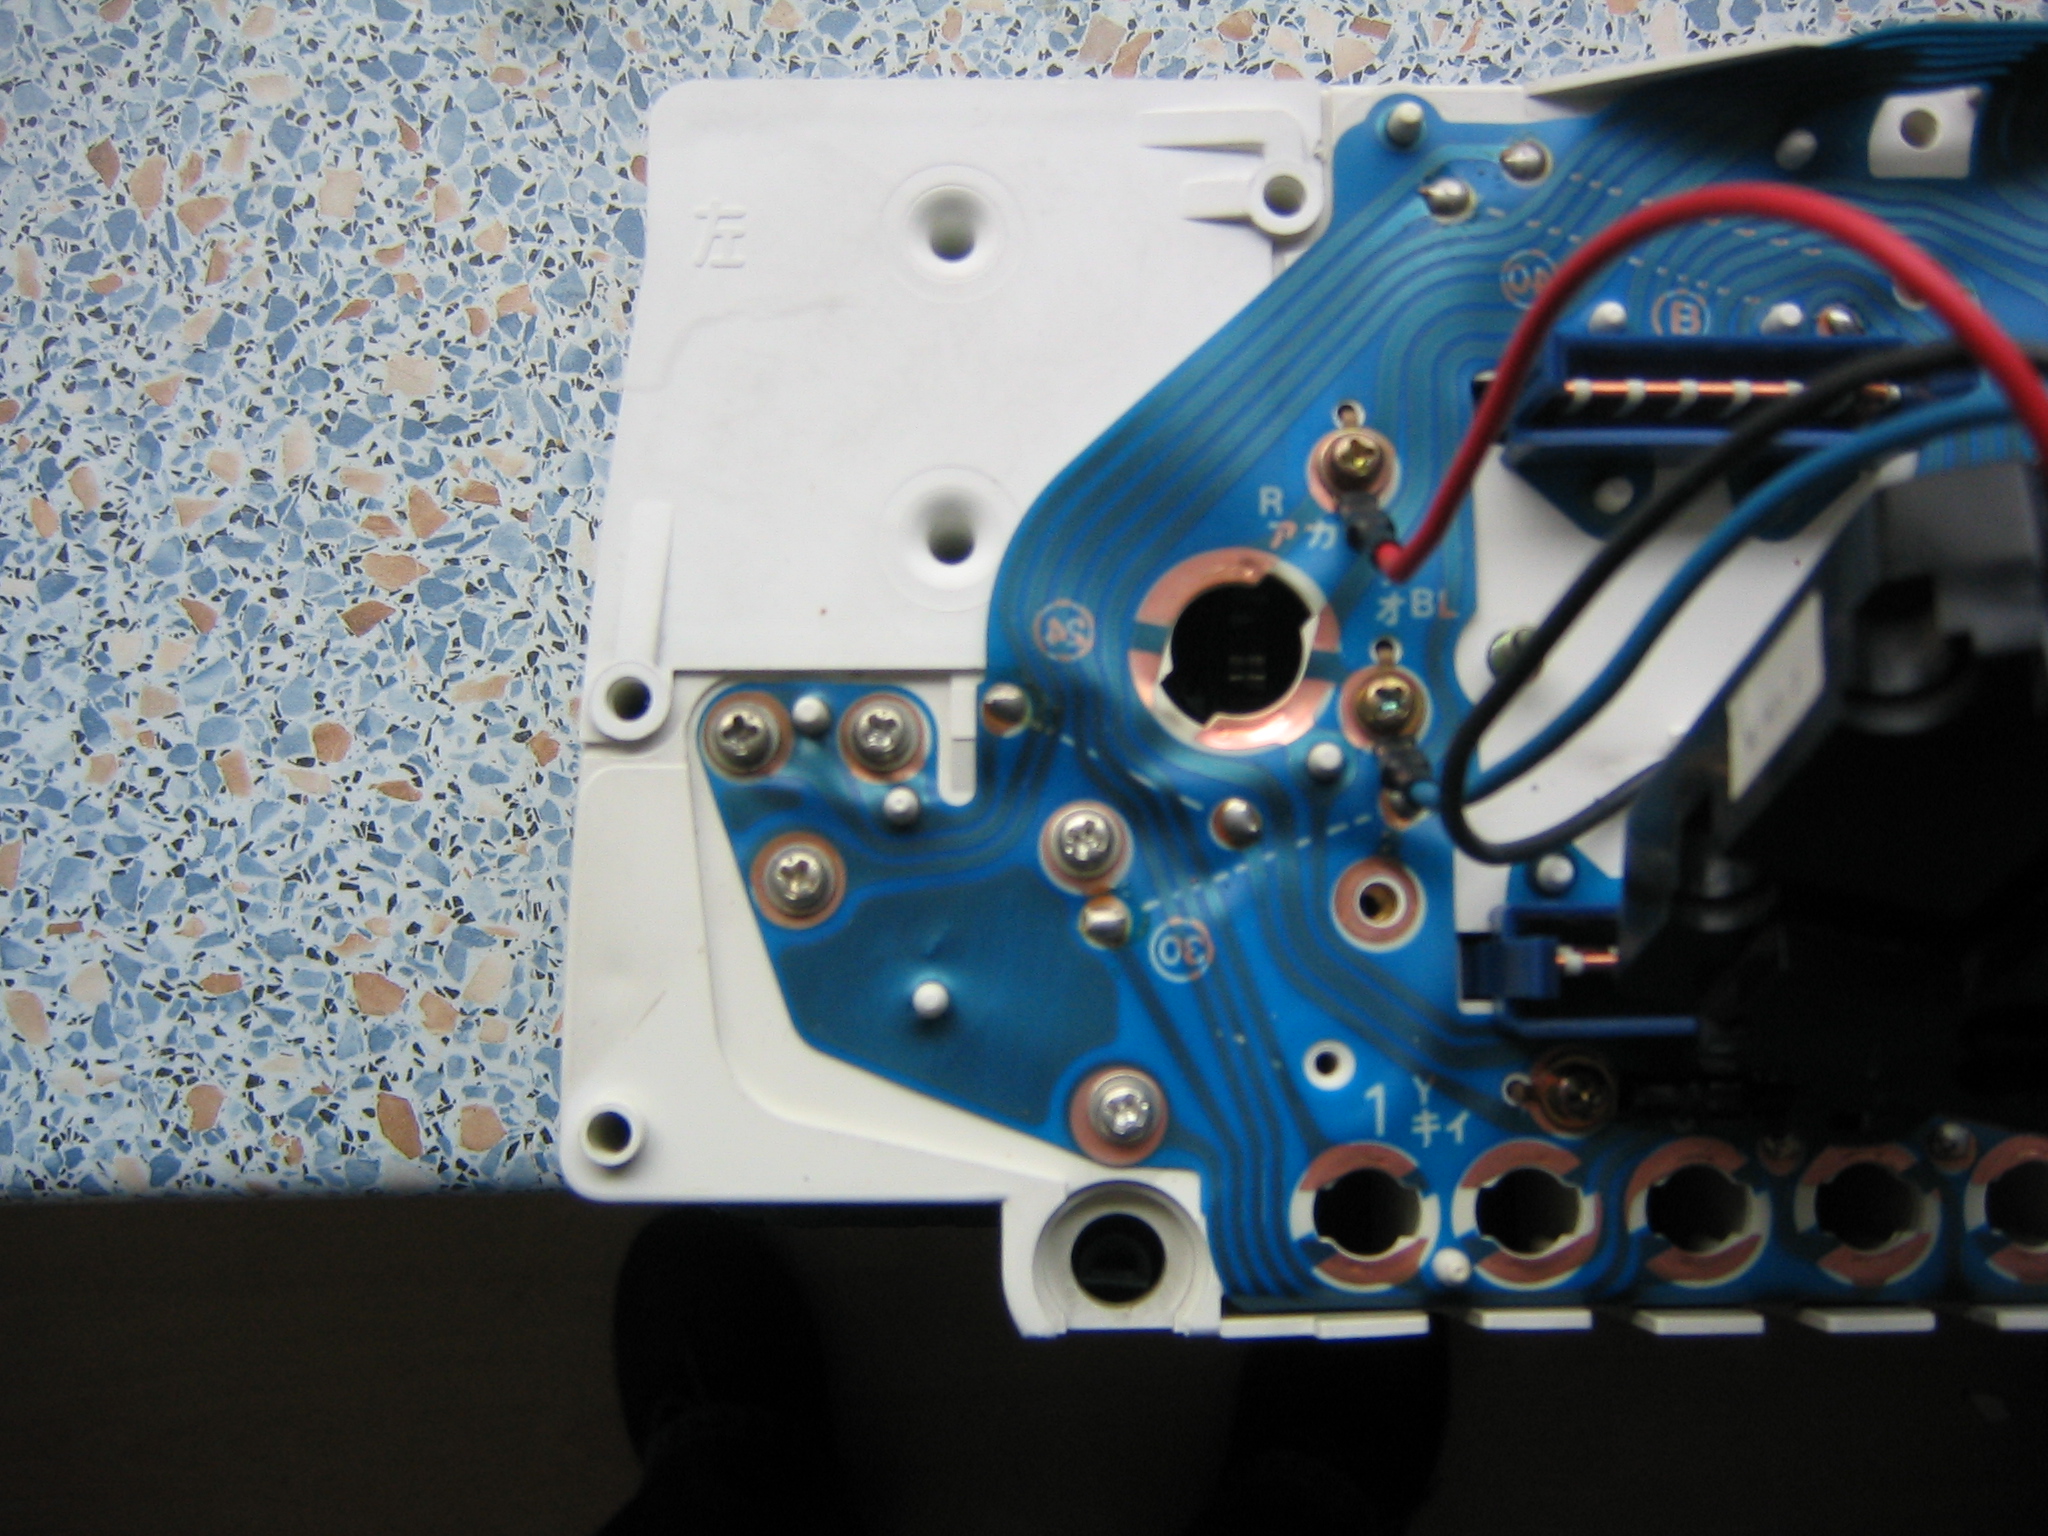
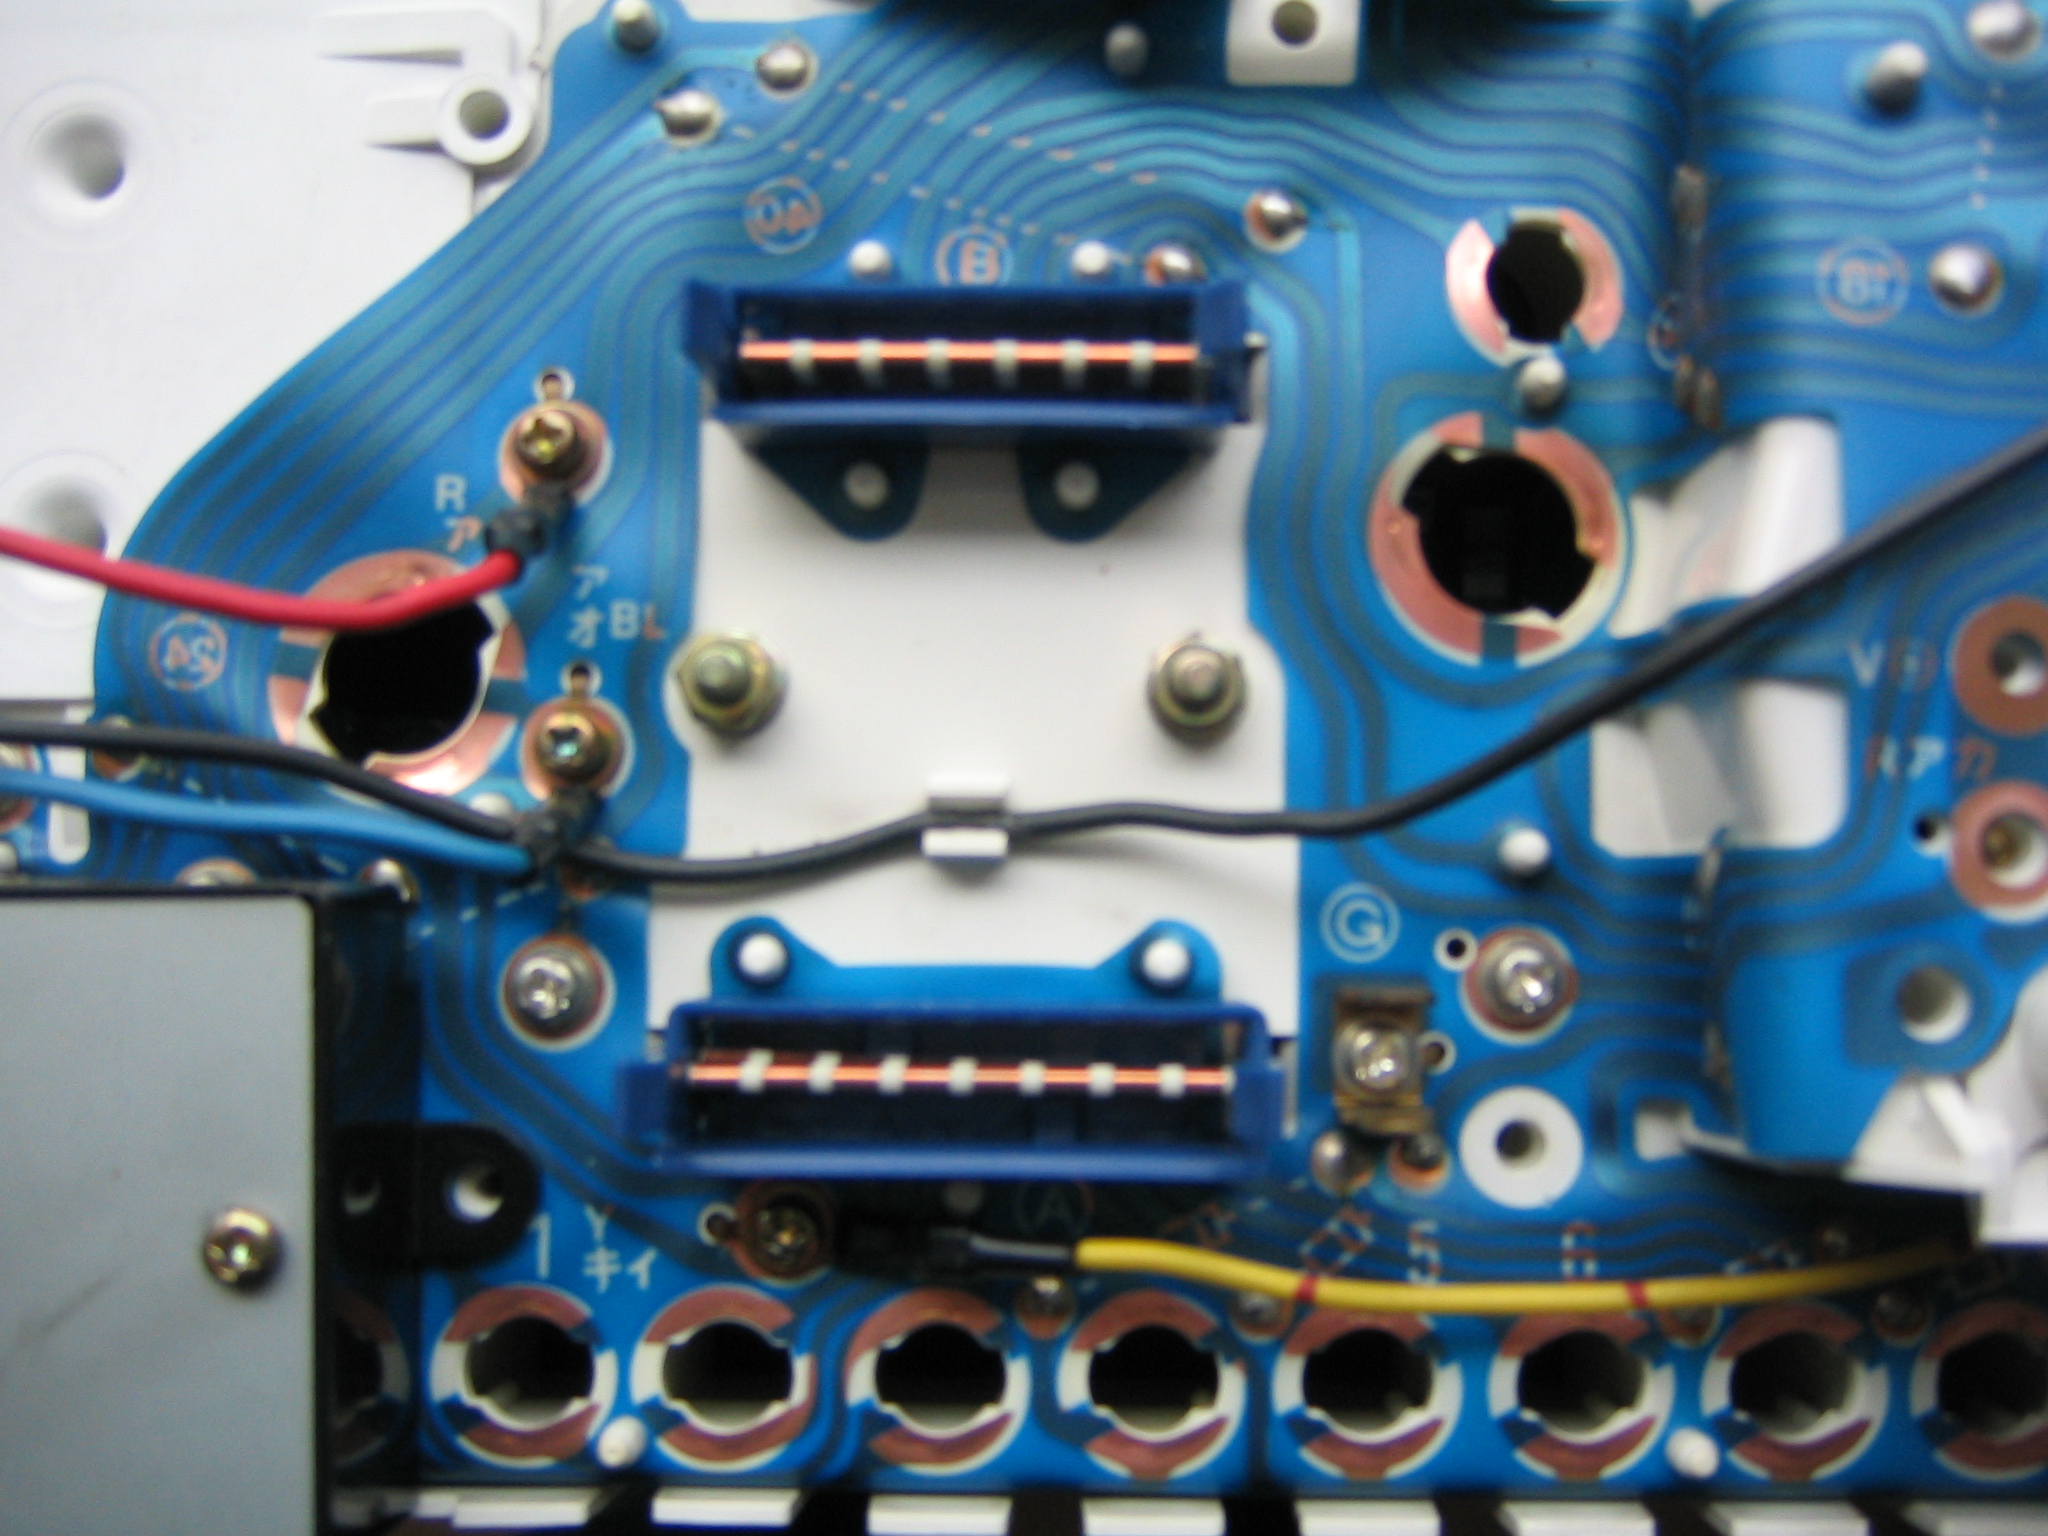
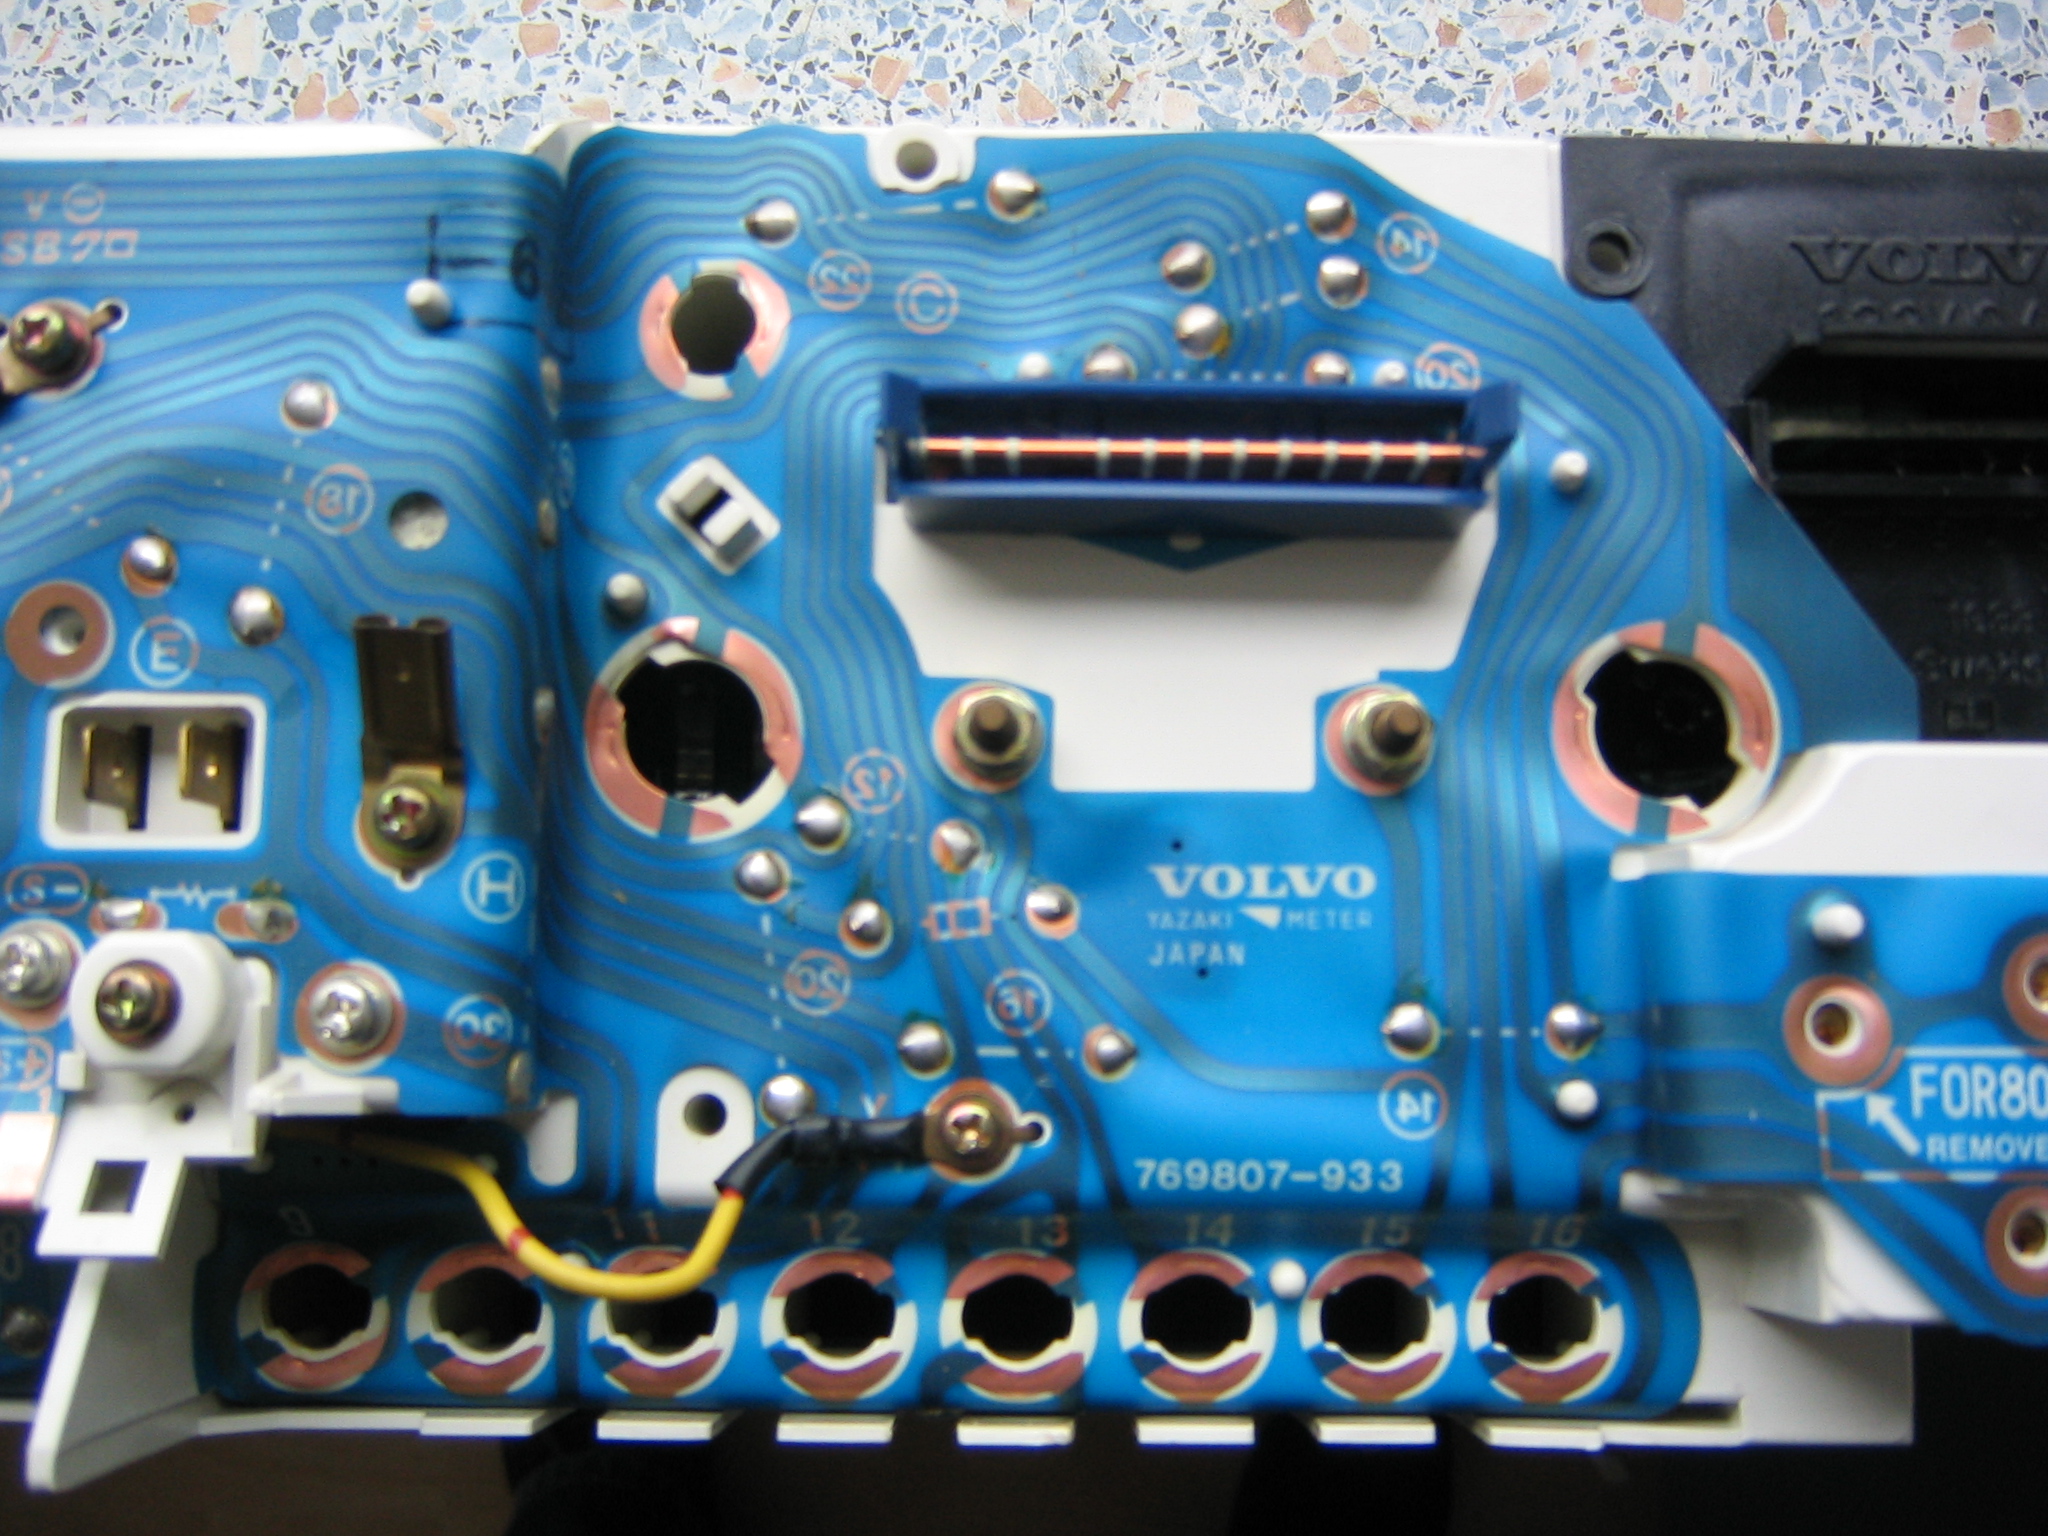
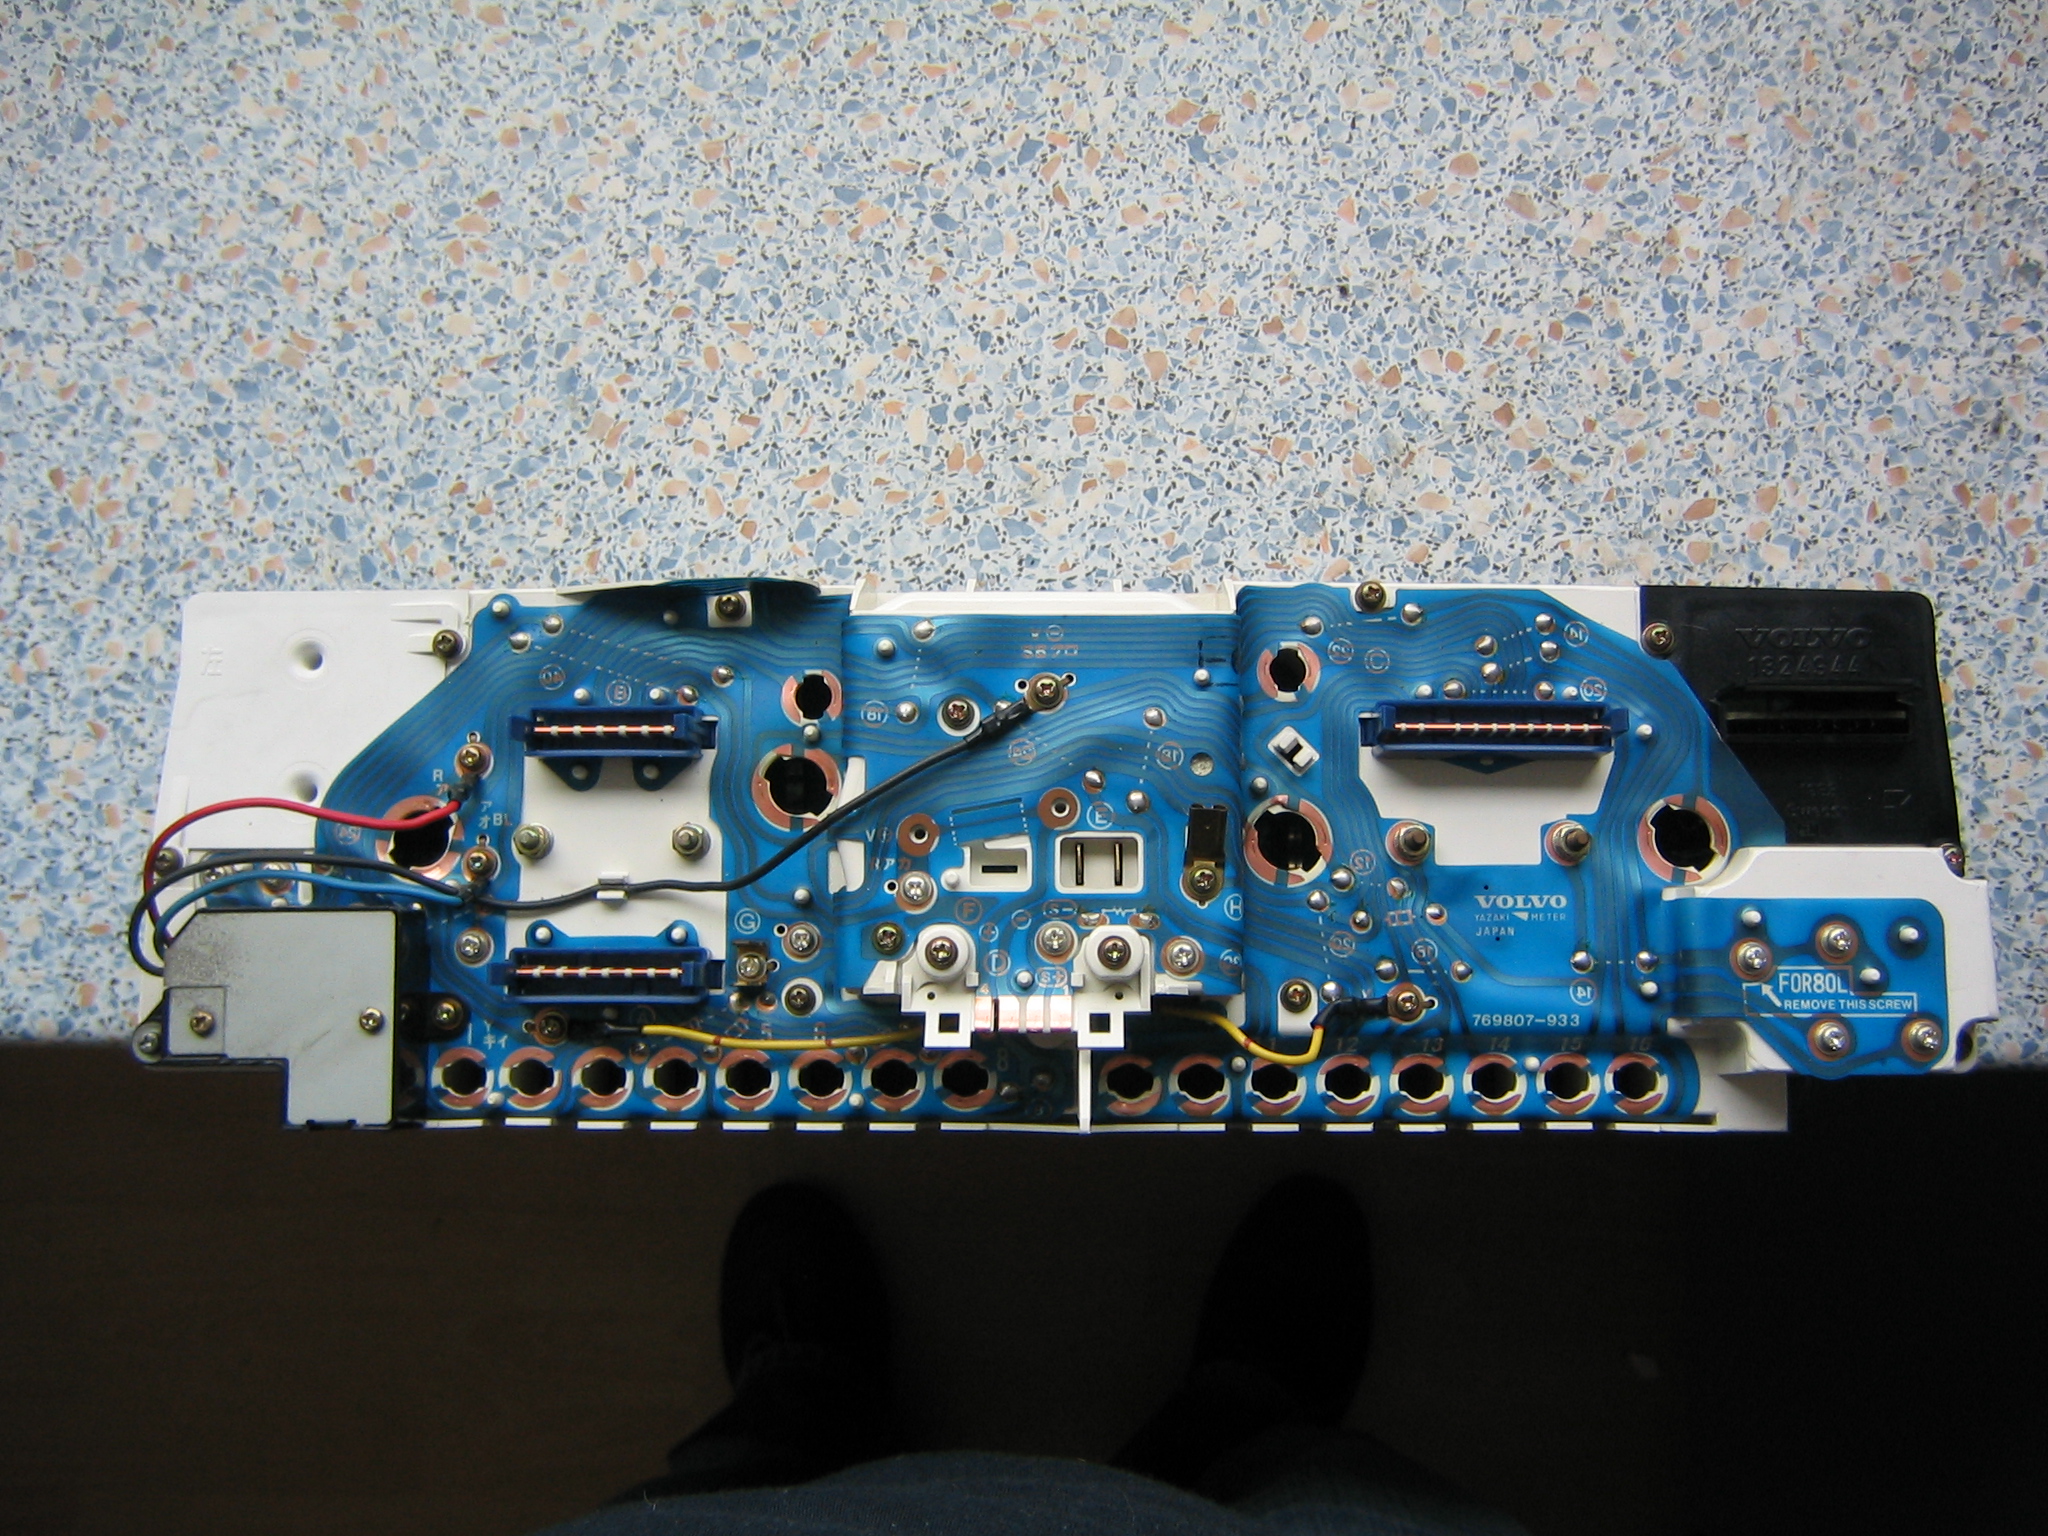
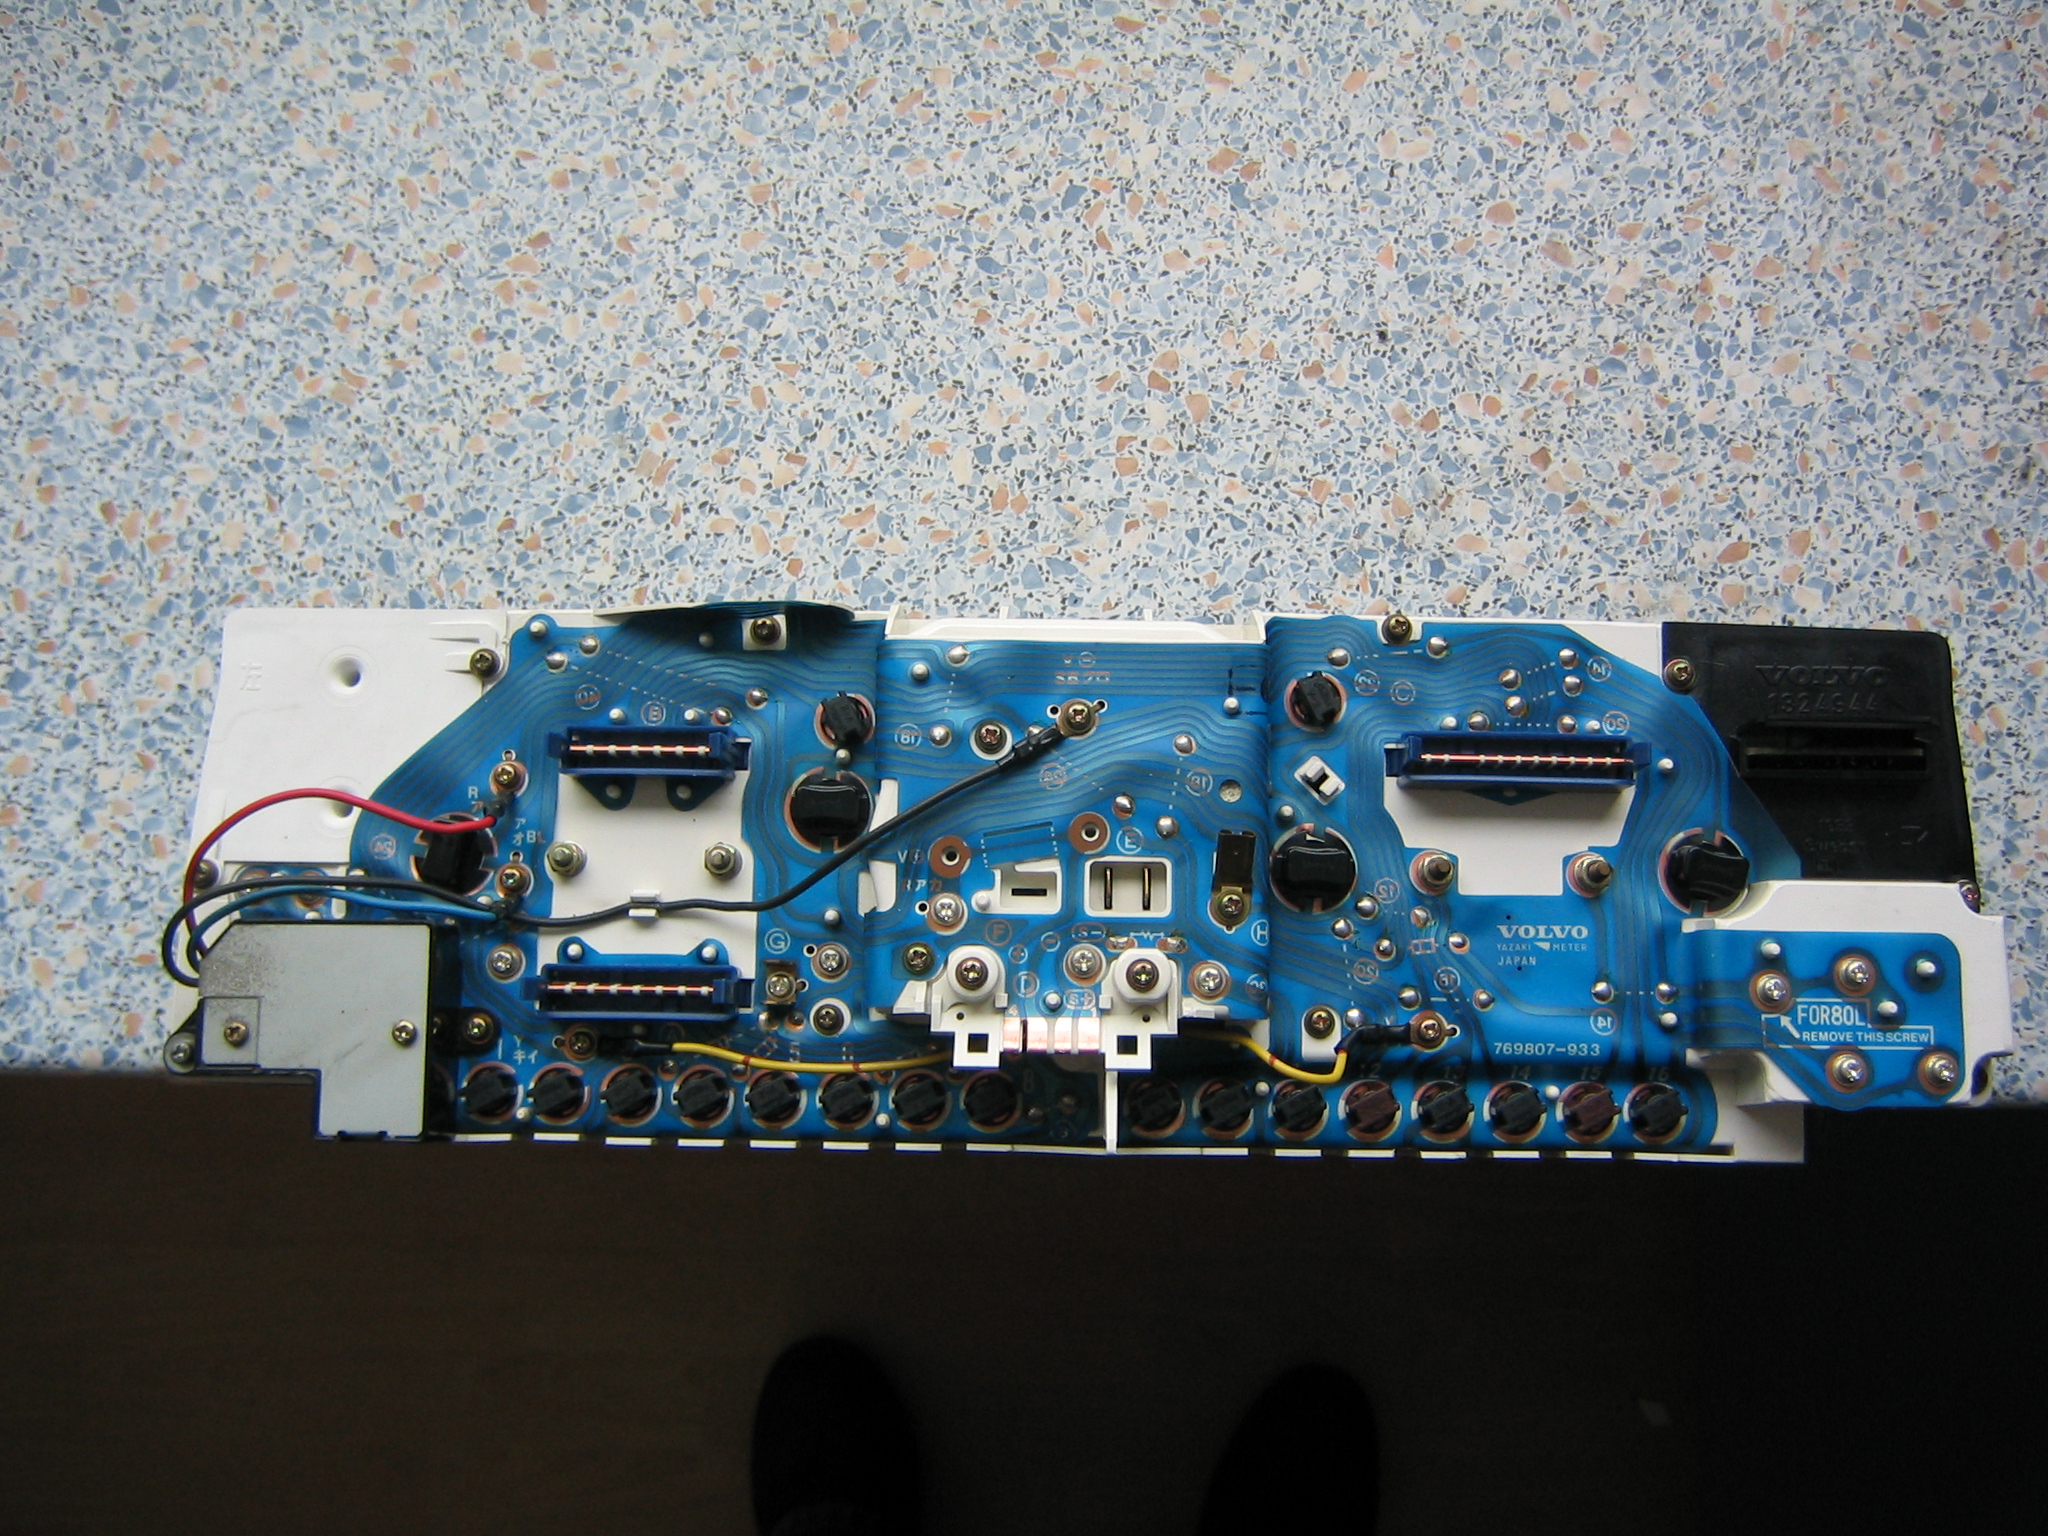
Now we clean the housing itself. Make sure it's dry after cleaning and there is no moisture left in the housing. First fit the flexible wiring.
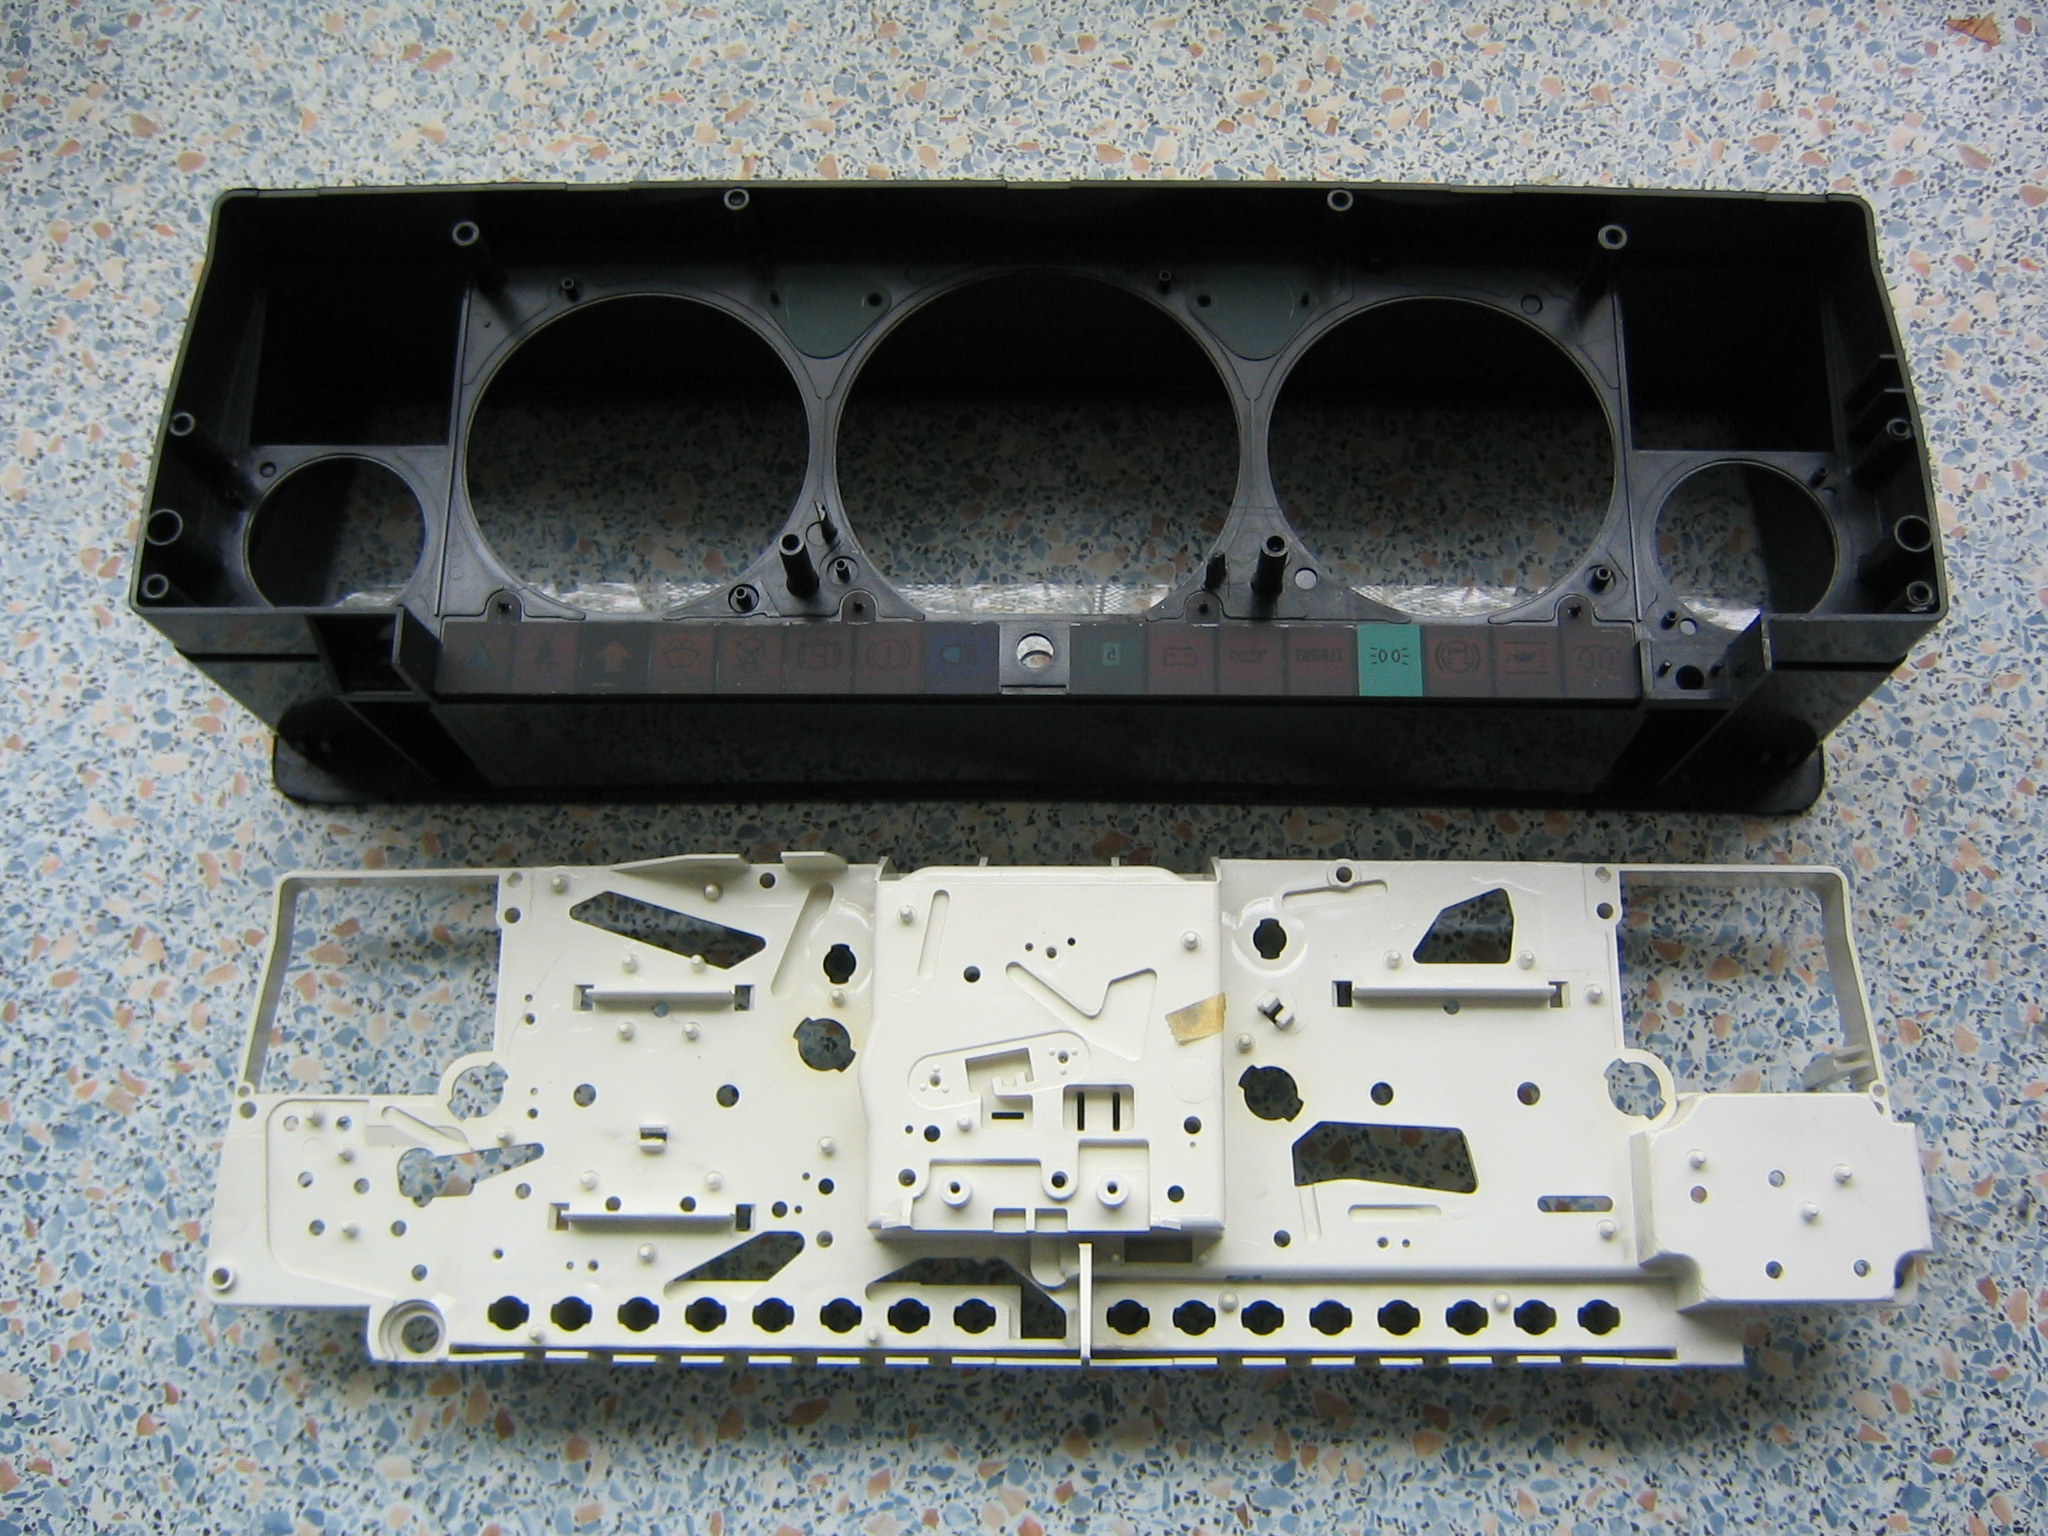


Place the gauges in the top black half. In order from left to right this would be:
- Coolant temprature
- RPM
- speedometer
- Leave empty (clock)
- fuel gauge
After the gauges are placed on their original place, add the clock and place the white back on the housing.
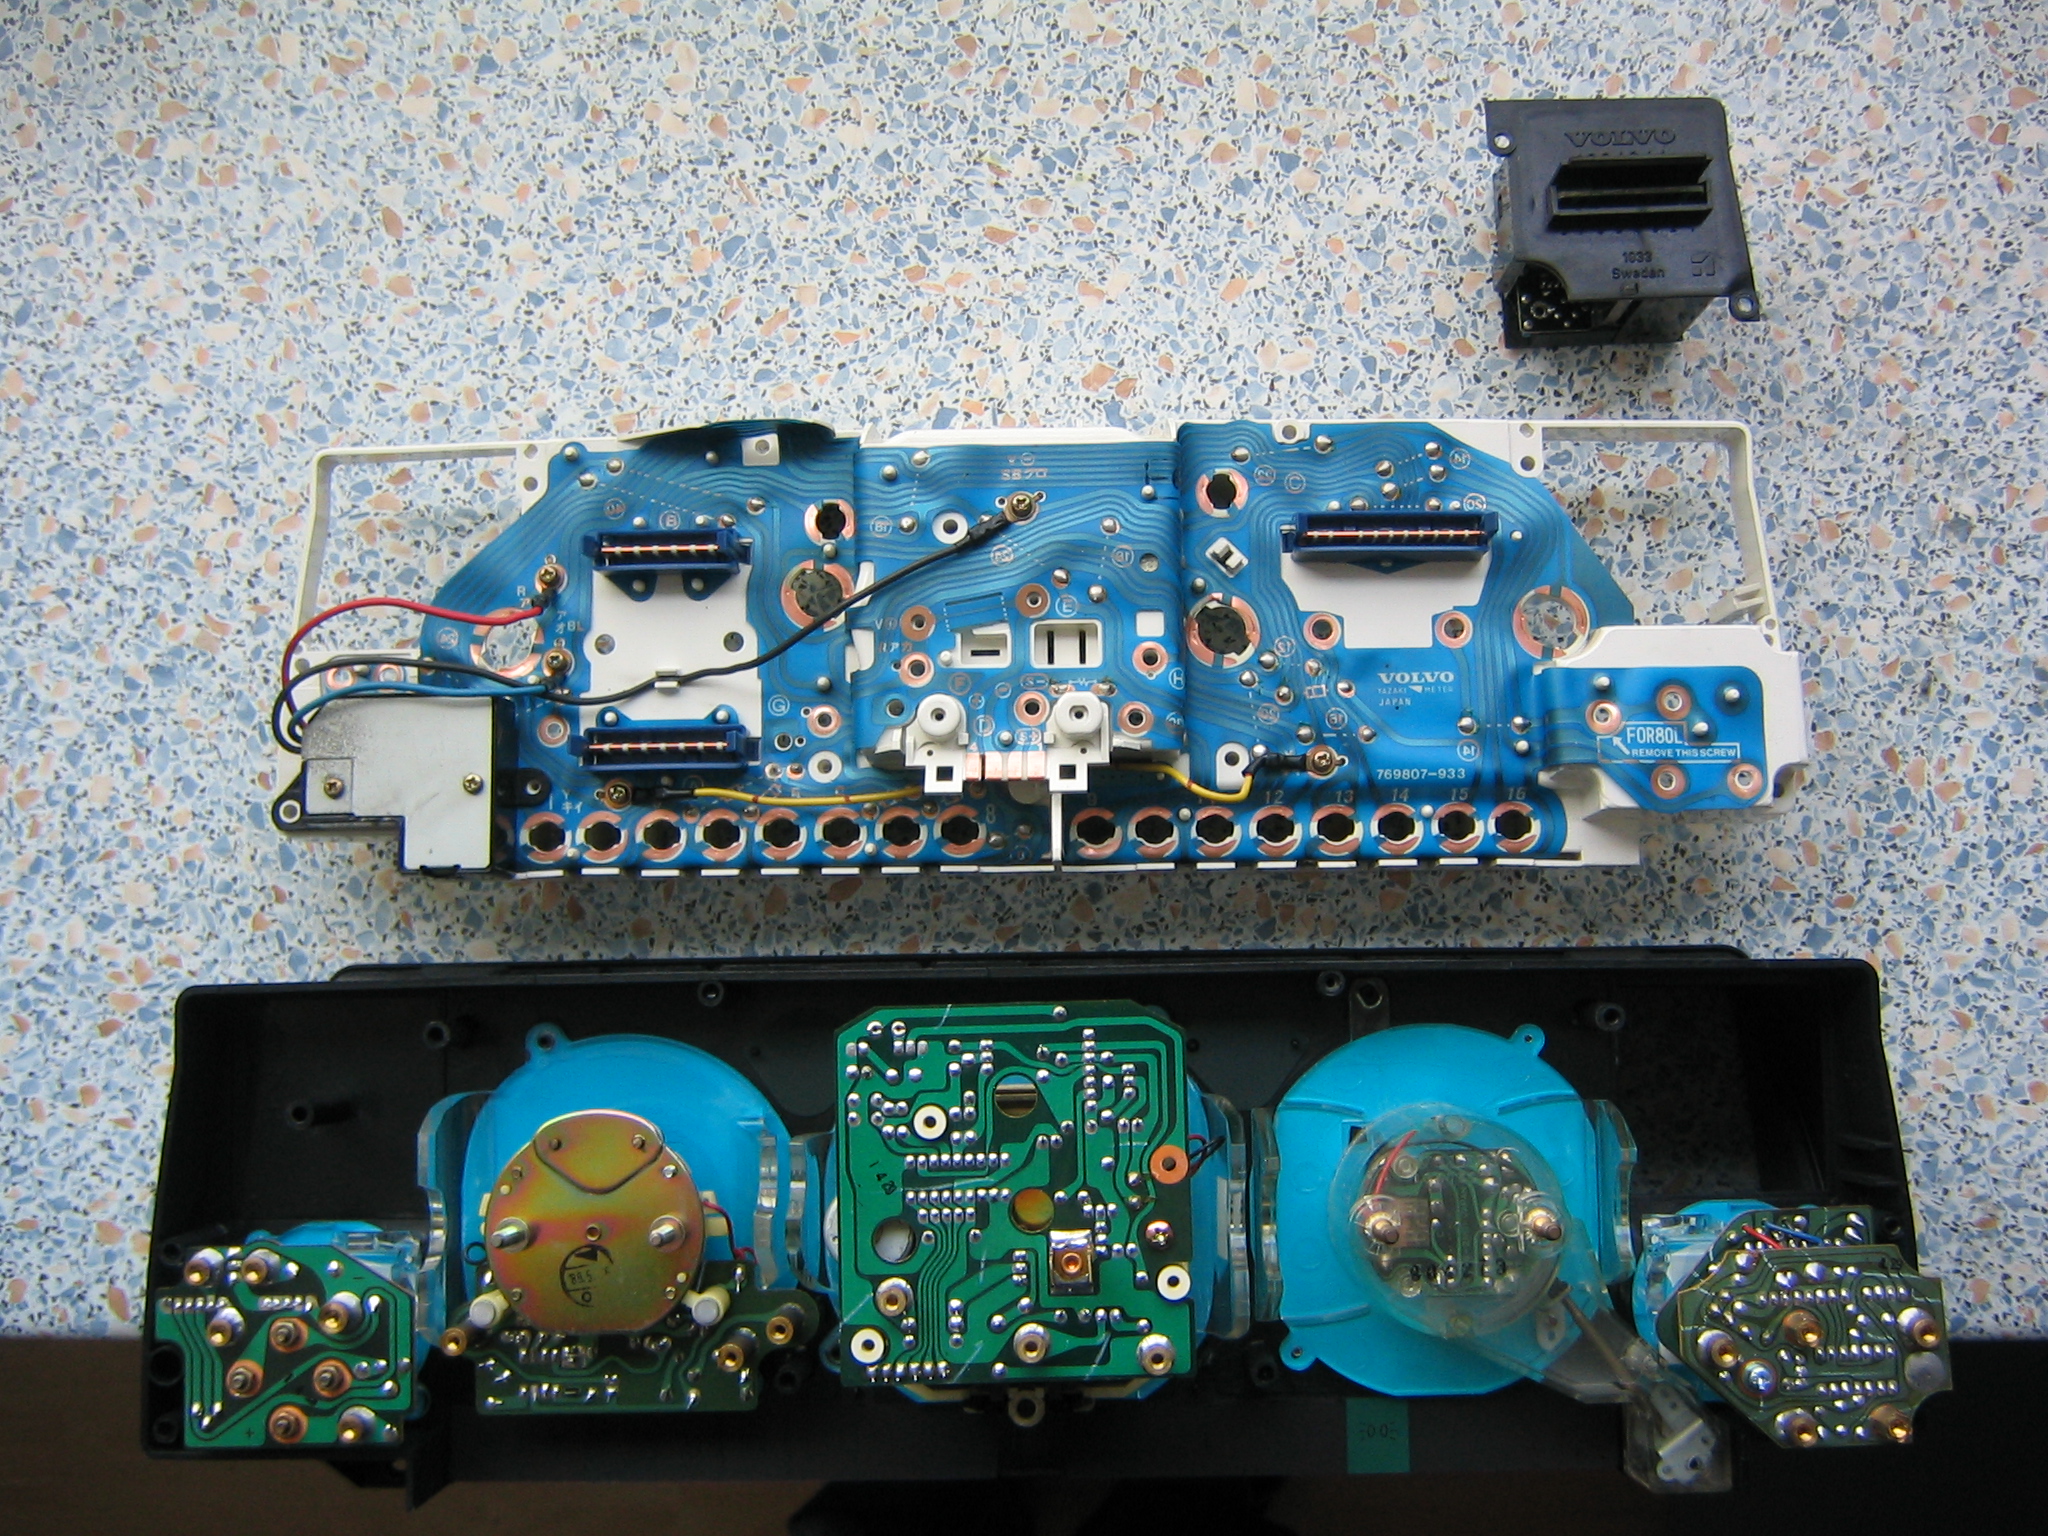
From left to right, fasten all gauges with the right screws. Leave the dimmer till last. This because one of it's screws is also used to fasten the black and white part of the housing.


After this is done, attach both halves to each other. Except for the bottom left screw, which also holds the dimmer and is stainless steel, all can be mixed. Don't forget to add the lightbulbs. (tip: check them before reusing them)
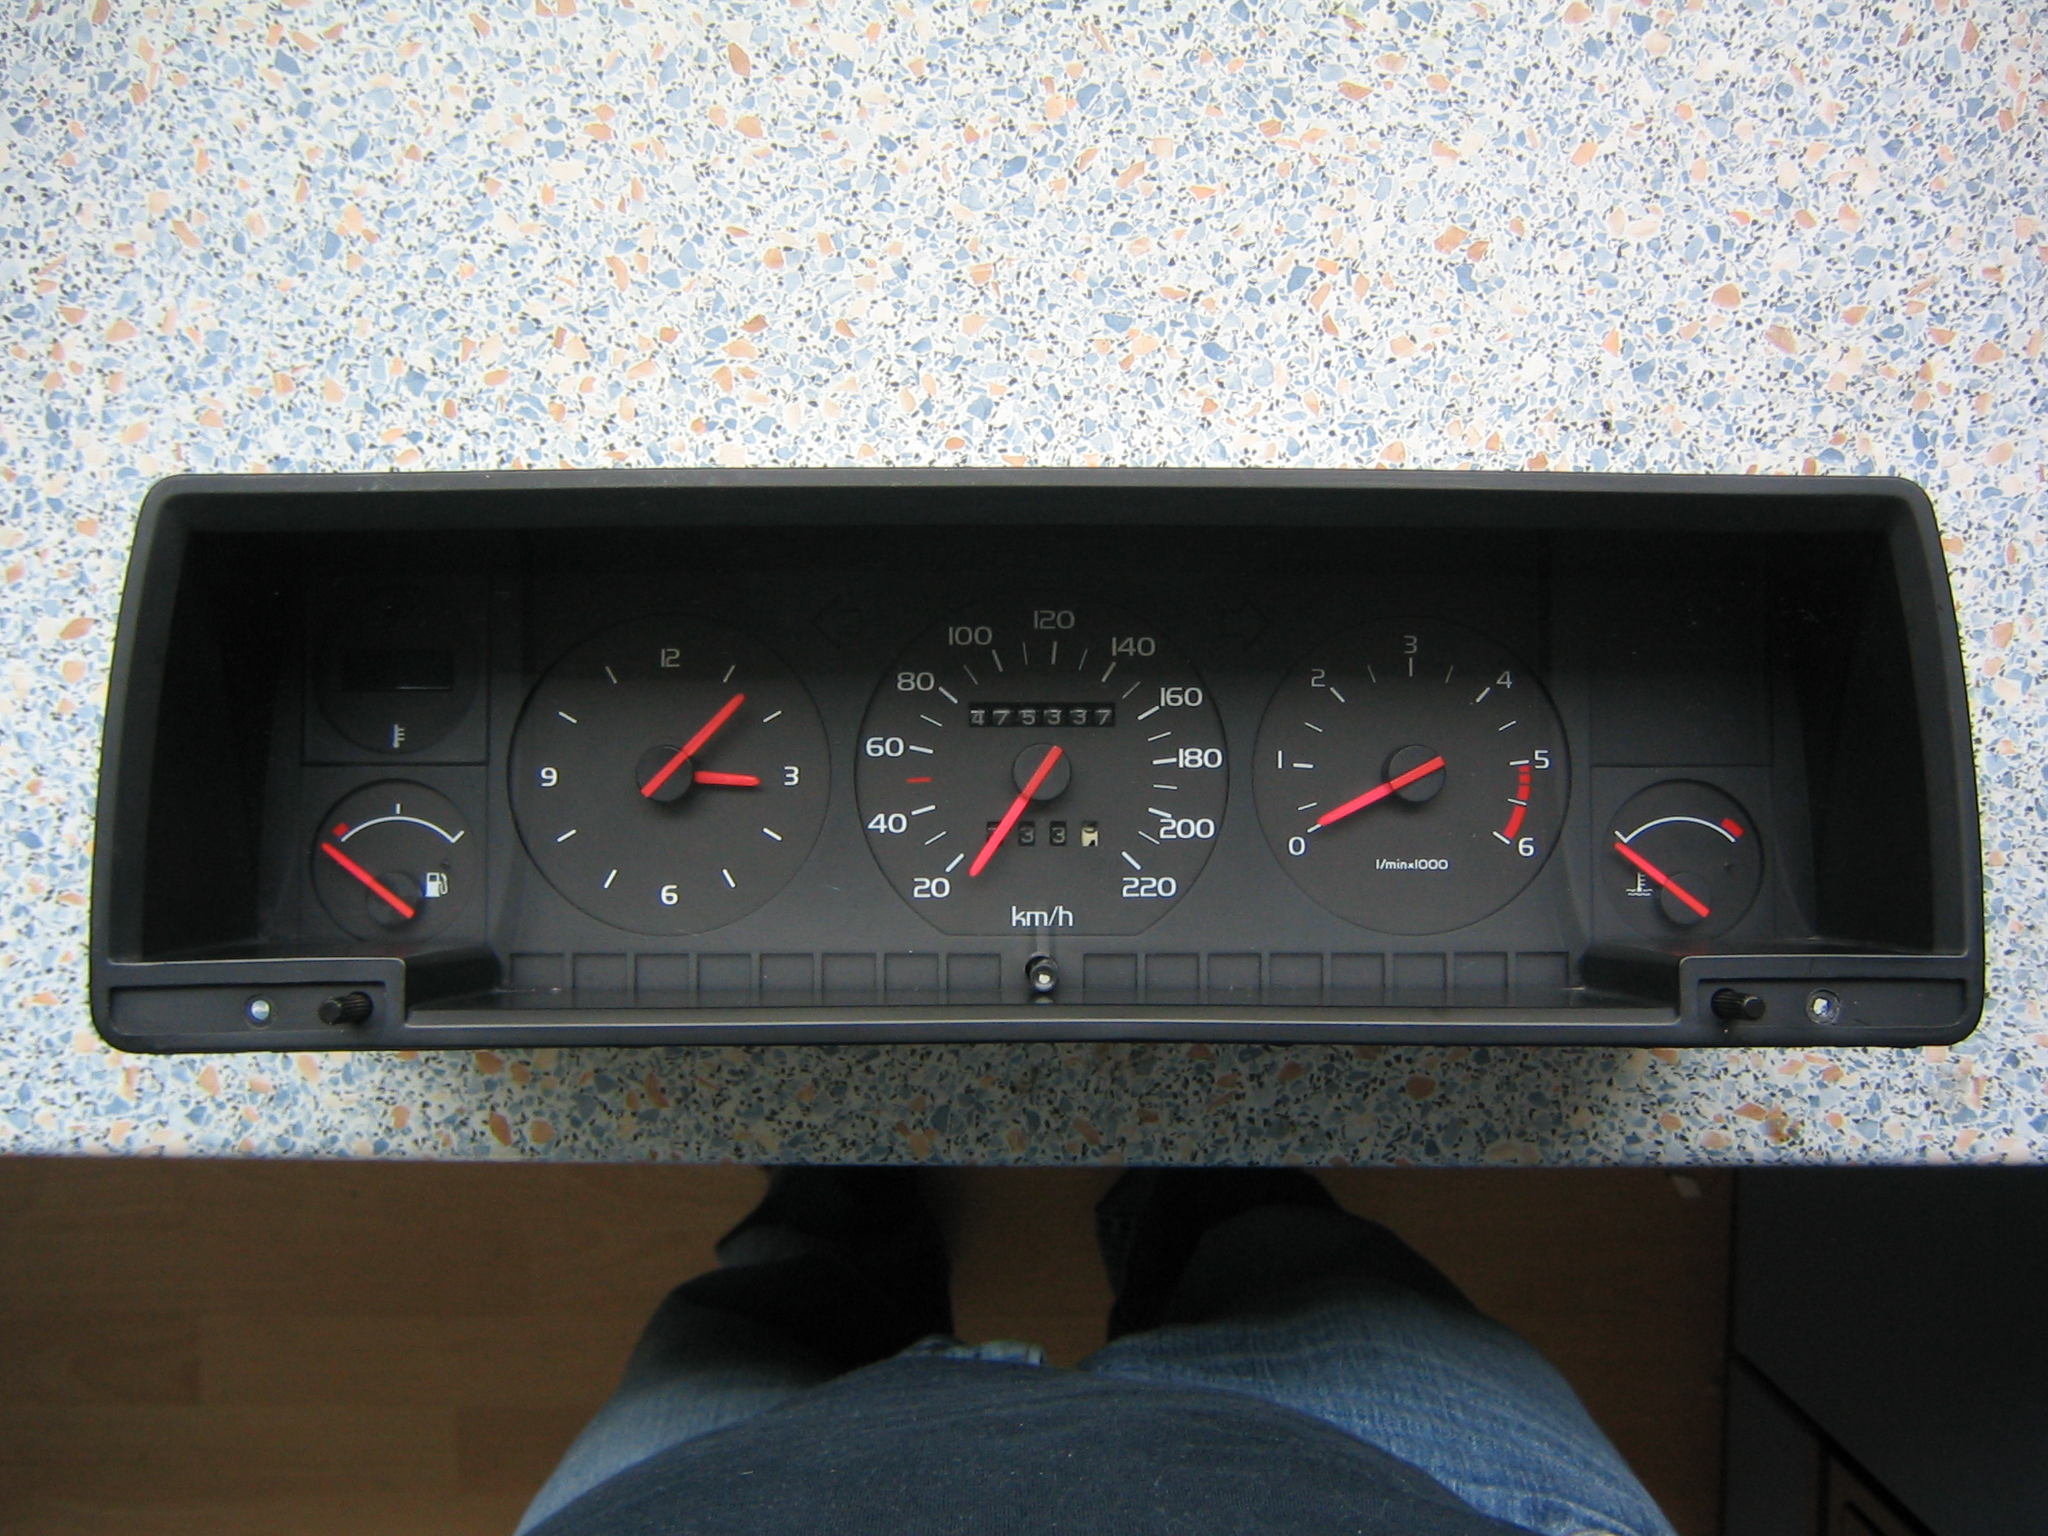
And after this you have a nice, clean, adjusted cockpit. In this example the non VDO set was used. When you hadn't already noticed, click on the image for a full-size version.
Last update: 26 September 2005
© 2005 Jan Huijsmans